Original tutorial by Loiva
Thank you Loiva for the permission to translate your tutorial.
Translated by Marie Nickol.
You will find the original tutorial here:

This tutorial is a personal creation by Loiva.
Any resemblance with another one would only be pure coincidence.
Thank you for the respect of Loiva’s work and the tubers work.
These translations are mine and are intended for personal use only and it is forbidden to copy part or all of it.
You can use this tutorial for PSP lessons but please put the link back to it.
Do not hesitate to let Loiva or me know if you have any problem with the present tutorial.

Materials used:
Disclaimer: Modifying or renaming files or removing watermarks from the tubes of the original tubers provided in the materials and sharing them as your own or using them for sale online or otherwise is prohibited.
1 background image
3 tubes
3 selections
Plugins used:
Tramages / Two the Line - Here
Simple / Pizza Slice Mirror - Here
Sapphire Filters 01 / SapphirePlugin_0001 -Here
Note: All three types of plugins can be used alone and can also be imported into Filters Unlimited 2.0
Materials

This translation is written with PSP 2018 Ultimate, if you work with other versions some things might be different but the result will be the same.
Note: In the latest versions of PSP the command Image-Mirror has become Image - Mirror - Mirror Horizontal
and Image-Flip has become Image - Mirror - Mirror Vertical
Preparations
Duplicate all the tubes and work with the copies to preserve the originals.
Place the selections into your Selections folder of PSP
If you don't have the plugins install them into your Plugins folder for PSP
Colors used:

Note: From your own tubes choose one color as Foreground color and one color as Background color.
When
working with your own colors, adjust the Blend Mode/Opacity at your own discretion
Loiva chose the following colors:
Material Properties - Foreground: Set your Foreground color to color 1  #2456c0
Material Properties - Background: Set your Background color to color 2  #dcd6ef
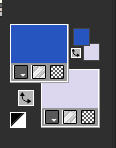
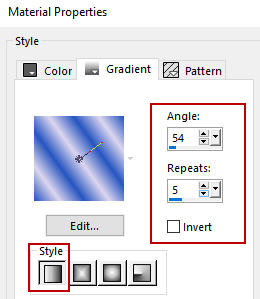
Materials Properties: Set your Foreground Color to foreground-background Linear gradient (Corel_06_029)
with the following settings - Angle 54 Repeats 3
The Tutorial
Step 1
File - New - Open a new Transparent image 900 x 600 pixels
Selections - Select All
Step 2
Open image - bluebeach[1]
Edit - Copy
Edit - Paste - Paste into Selection on your working image
Selections - Select None
Step 3
Effects - Image Effects - Seamless Tiling (default settings)
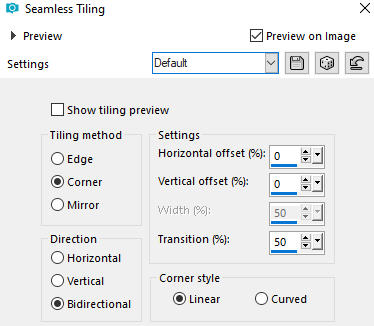
Step 4
Effects - Reflection Effects - Kaleidoscope
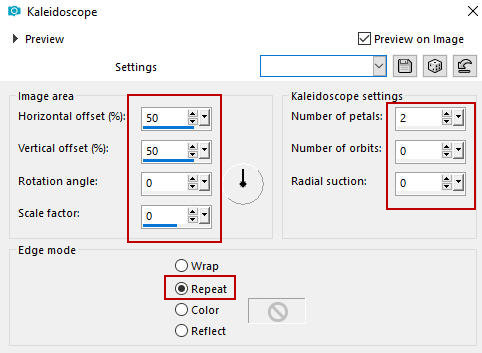
Step 5
Effects - Plugins -Tramages - Two the Line (default settings)

or
Effects - Plugins -<I.C.NET Software> - Filters Unlimited 2.0 - Tramages - Two the Line
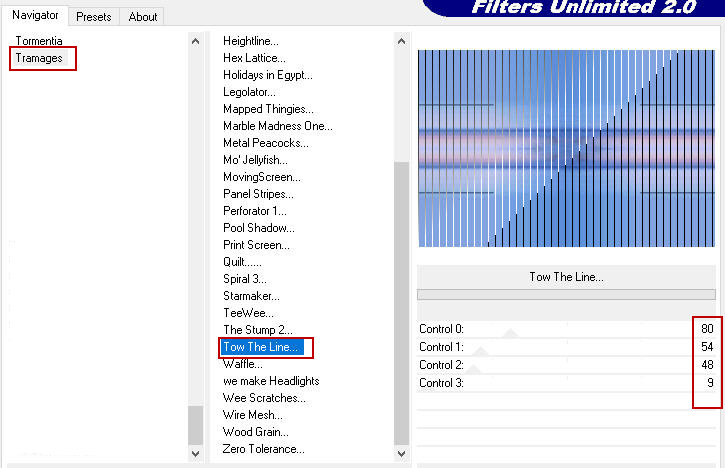
Step 6
Layers - Duplicate
Close the eye of this layer Copy of Raster 1
Step 7
Activate the layer underneath - layer Raster 1
Effects - Plugins - Simple - Pizza Slice Mirror
or in Filters Unlimited 2.0
Effects - Plugins -<I.C.NET Software> - Filters Unlimited 2.0 - Simple - Pizza Slice Mirror
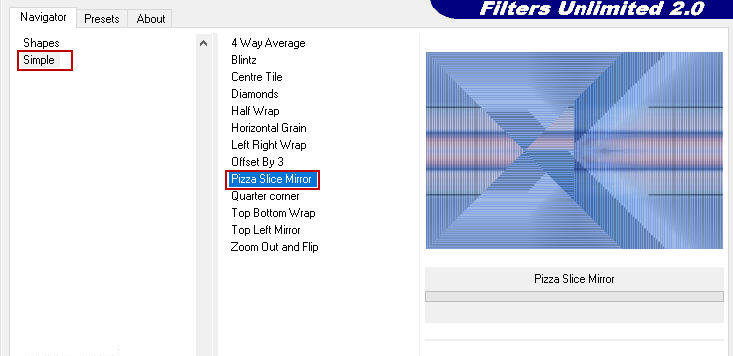
Step 8
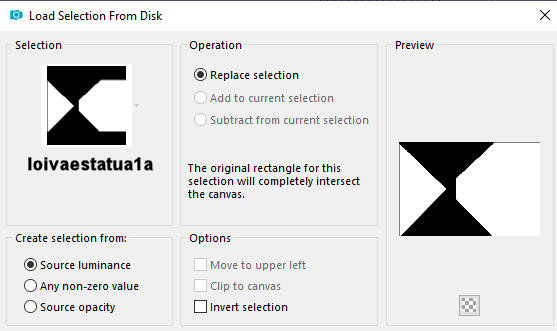
Selections - Load/Save Selection - Load Selection From Disk
Look for and load the selection - loivaestatua1a
Step 9
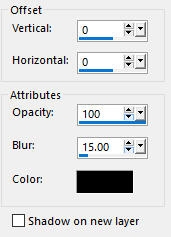
Effects - 3D Effects - Drop Shadow (0/0/100/15) color black #000000 - Shadow on new layer not checked
Step 10
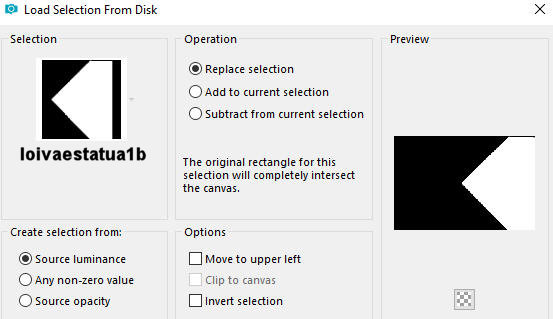
Selections - Load/Save Selection - Load Selection From Disk
Look for and load the selection - loivaestatua1b
(Note: depending on your PSP version you may first apply the step Selections - Select None,
then load the Selection)
Effects - 3D Effects - Drop Shadow (0/0/100/15) color black #000000 - Shadow on new layer not checked

Selections - Select None
Step 11
Activate and open the eye of the top layer - Copy of Raster 1
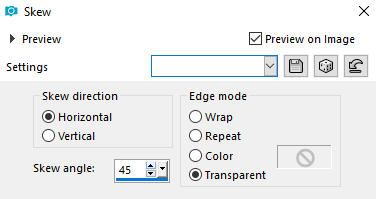
Effects - Geometric Effects - Skew
Step 12
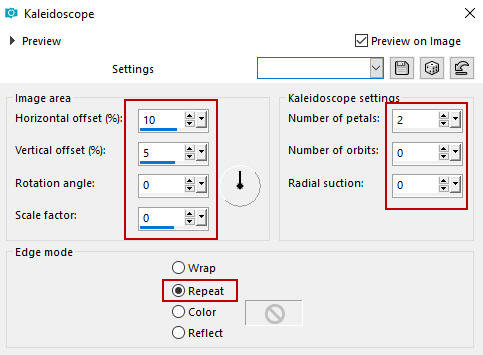
Effects - Reflection Effects - Kaleidoscope
Step 13
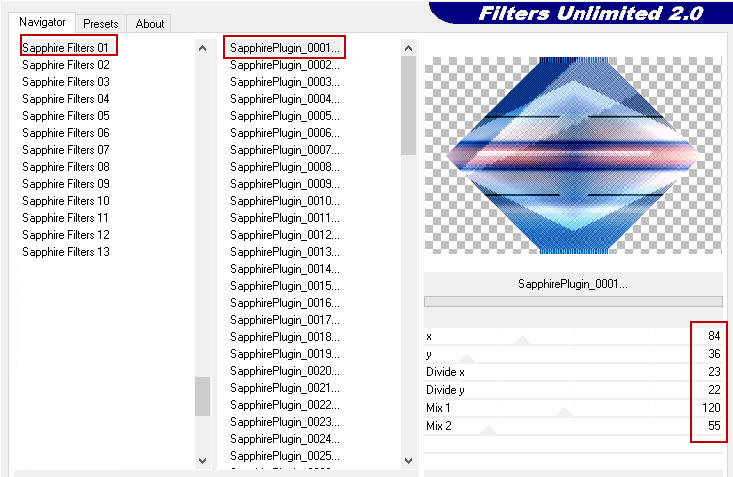
Effects - Plugins - Sapphire Filters 01 - SapphirePlugin_0001 (default settings)

or in Filters Unlimited 2.0
Effects - Plugins - <I.C.NET Software> - Filters Unlimited 2.0 - Sapphire Filters 01 - SapphirePlugin_0001
Step 14
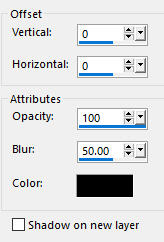
Effects - 3D Effects - Drop Shadow (0/0/100/50) color black #000000 - Shadow on new layer not checked
Step 15
Layers - New Raster Layer
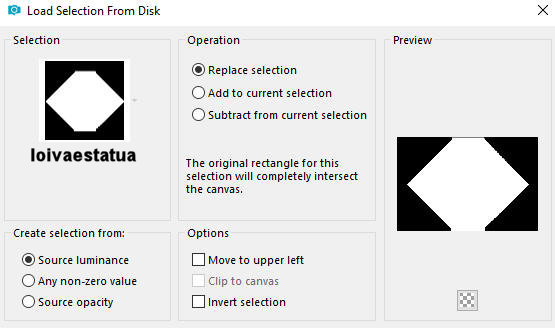
Selections - Load/Save Selection - Load Selection From Disk
Look for and load the selection - loivaestatua
Step 16
Open tube - bluebeach_fade
Edit - Copy
Edit - Paste - Paste into Selection on your working image
Selections - Select None
Step 17
Open tube - depositphotos
Edit - Copy
Edit - Paste - Paste As New Layer on your working image
Activate the Pick Tool (K) 
Enter these values for positions X and Y on the Toolbar
X: 279.00 Y: 105.00

Press M on your keyboard to release the Pick Tool
Step 18
Open tube - Rock balancing
Edit - Copy
Edit - Paste - Paste As New Layer on your working image
Activate the Pick Tool (K) 
Enter these values for positions X and Y on the Toolbar
X: 323.00 Y: 264.00

Press M on your keyboard to release the Pick Tool
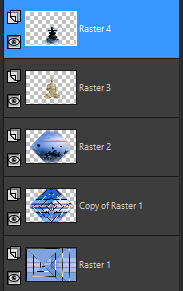
Your layers look like this:
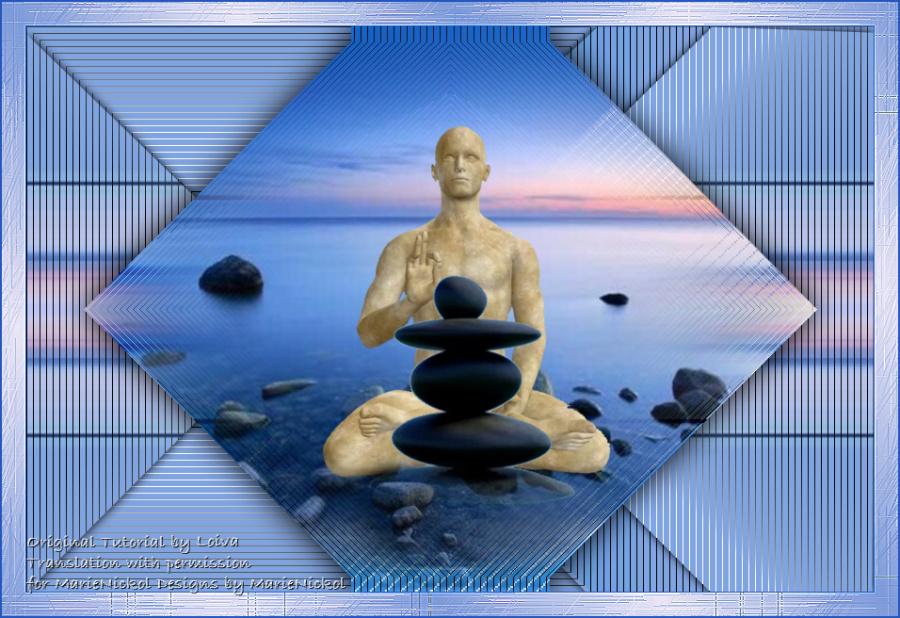
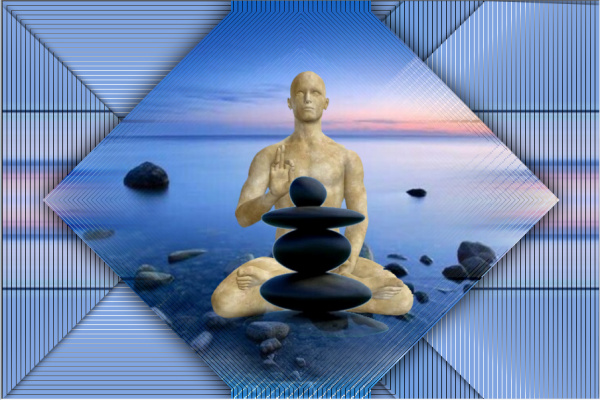
Your image looks like this:
Step 19
Image - Add Borders - 2px - Symmetric checked - Color 1  #2456c0
Step 20
Selections - Select All
Image - Add Borders - 25px - Symmetric checked - Color white  #ffffff
Selections - Invert
Layers - New Raster Layer
Flood fill tool / Fill in the layer with the Linear gradient

Step 21
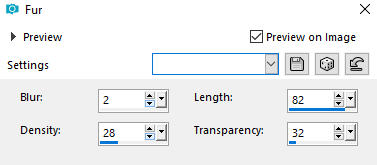
Effects - Texture Effects - Fur
Step 22
Effects - Edge Effects - Enhance
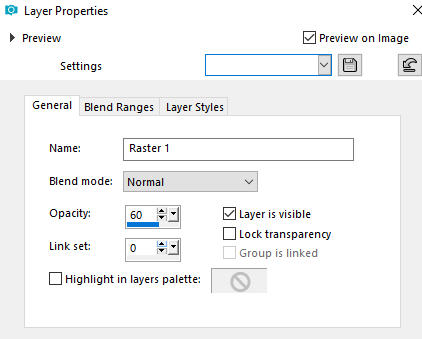
In your Layer Properties - set the Opacity of this layer on 60
Selections - Select None
Step 23
Image - Add Borders - 2px - Symmetric checked - Color 1  #2456c0
Step 24
Layers - New Raster Layer
Add your name or watermark
Layers - Merge - Merge All (Flatten)
Image - Resize - 900 pixels width (the height will adapt)
File - Export - Save as JPG file
~~~~~~~
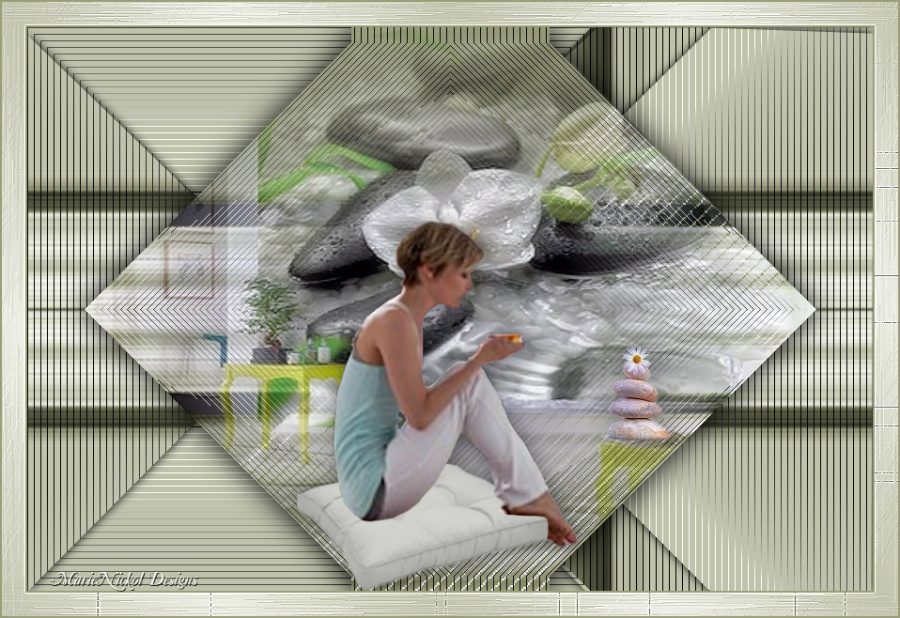
My version with my own tubes
