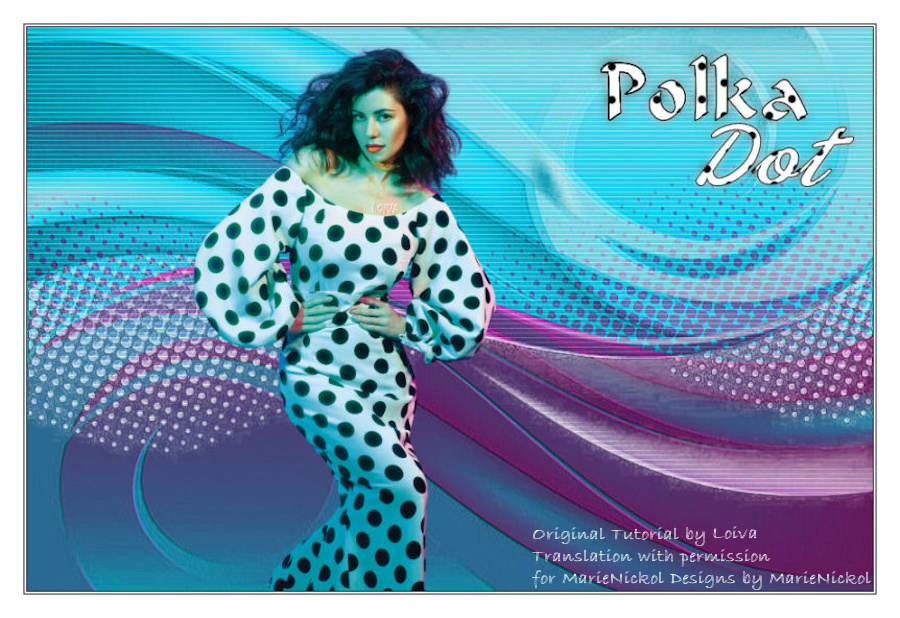
Original tutorial by Loiva
Thank you Loiva for the permission to translate your tutorial.
Translated by Marie Nickol.
You will find the original tutorial here:

This tutorial is a personal creation by Loiva.
Any resemblance with another one would only be pure coincidence.
Thank you for the respect of Loiva’s work and the tubers work.
These translations are mine and are intended for personal use only and it is forbidden to copy part or all of it.
You can use this tutorial for PSP lessons but please put the link back to it.
Do not hesitate to let Loiva or me know if you have any problem with the present tutorial.

Materials used:
Disclaimer: Modifying or renaming files or removing watermarks from the tubes of the original tubers provided in the materials and sharing them as your own or using them for sale online or otherwise is prohibited.
1 character tube
1 background tube
1 mask
1 wordart tube
Plugins used:
Carolaine and Sensibility / cs_texture
User Defined Filter / Emboss 3
Materials

This translation is written with PSP 2018 Ultimate, if you work with other versions some things might be different but the result will be the same.
Note: In the latest versions of PSP the command Image-Mirror has become Image - Mirror - Mirror Horizontal
and Image-Flip has become Image - Mirror - Mirror Vertical
Preparations
Duplicate all the tubes and work with the copies to preserve the originals.
Colors used:

Note: From your own tubes choose one color as Foreground color and one color as Background color.
When
working with your own colors, adjust the Blend Mode/Opacity at your own discretion
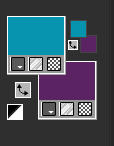
Loiva chose the following colors:
Material Properties - Foreground: Set your Foreground color to color #0197af
Material Properties - Background: Set your Background color to color #5d2363
The Tutorial
Step 1
File - New - Open a new Transparent image 900 x 600 pixels
Flood fill tool / Fill in the layer with the Foreground color #0197af
Step 2
Layers - New Raster Layer
Flood fill tool / Fill in the layer with Background color #5d2363
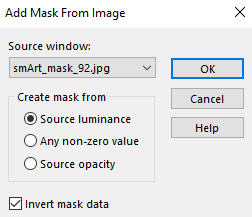
Open mask - smArt_mask_92
Layers - New Mask Layer - From Image - Invert mask data checked)
Layers - Merge - Merge Group
Step 3
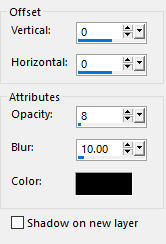
Effects - 3D Effects - Drop Shadow - Shadow on new layer not checked - color black
Step 4
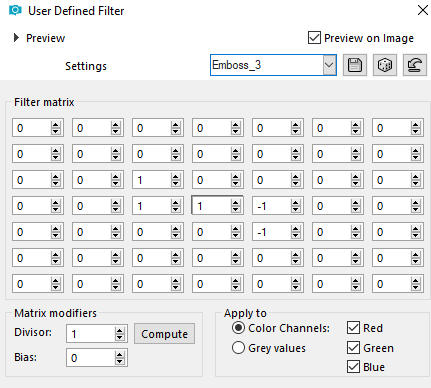
Effects - User Defined Filter - Emboss 3
Step 5
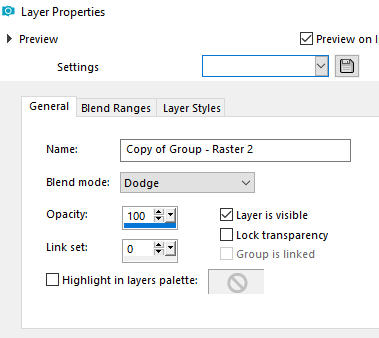
Layers - Duplicate
Image - Mirror
Image - Flip
In your Layer Properties - set the Blend mode to Dodge
Step 6
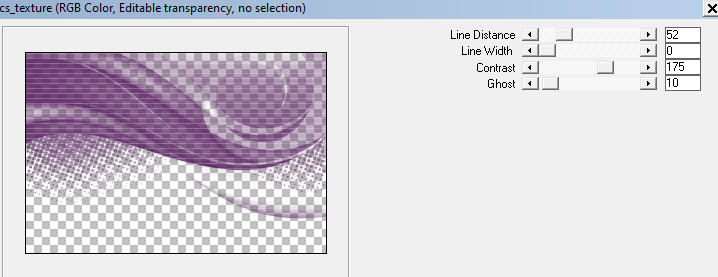
Effects - Plugins - Carolaine and Sensibility - cs_texture (default settings)
Step 7
Open the woman tube - pngegg
Edit - Copy
Edit - Paste - Paste As New Layer on your working image
Image - Resize - 40% - Resize All Layers - Not Checked
Move the tube a little to the left as shown on the final result
Step 8
Open the wordart tube - Image22
Edit - Copy
Edit - Paste - Paste As New Layer on your working image
Move the tube to the top right as shown on the final result
Step 9
Layers - Merge - Merge Visible
Image - Add Borders - 1px - Symmetric checked - Color black #000000
Image - Add Borders - 2px - Symmetric checked - Color white #ffffff
Image - Add Borders - 1px - Symmetric checked - Color black #000000
Image - Add Borders - 25px - Symmetric checked - Color white #ffffff
Step 10
Layers - New Raster Layer
Add your name or watermark
Layers - Merge - Merge All (Flatten)
Image - Resize - 900 pixels width (the height will adapt)
File - Export - Save as JPG file
~~~~~~~
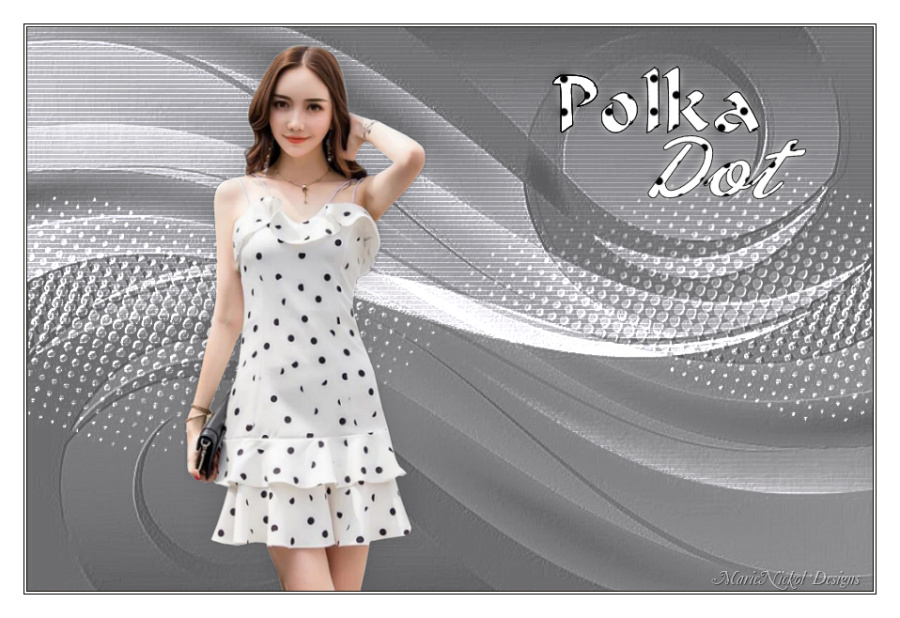
My version with tube by Lana
