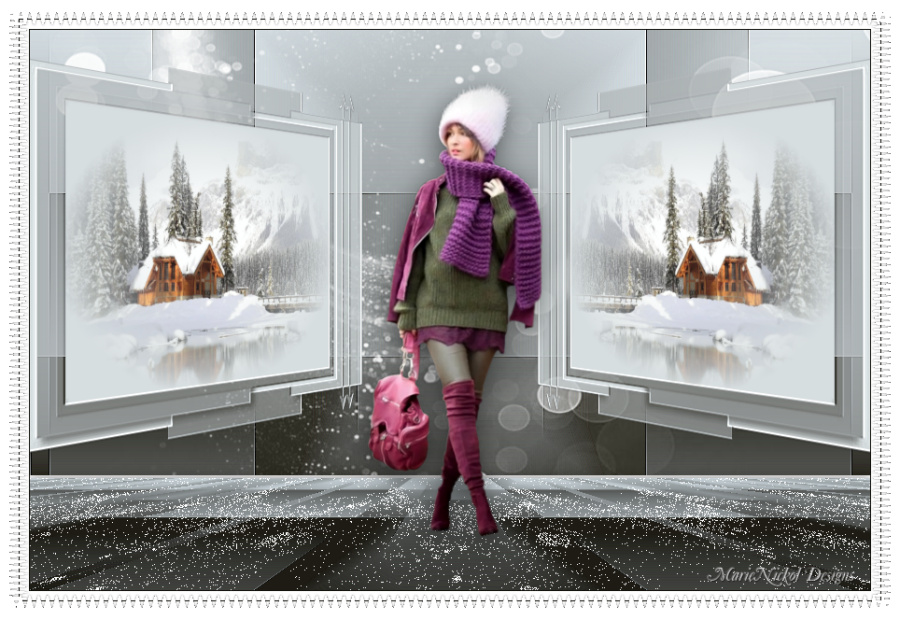
Original tutorial by Loiva
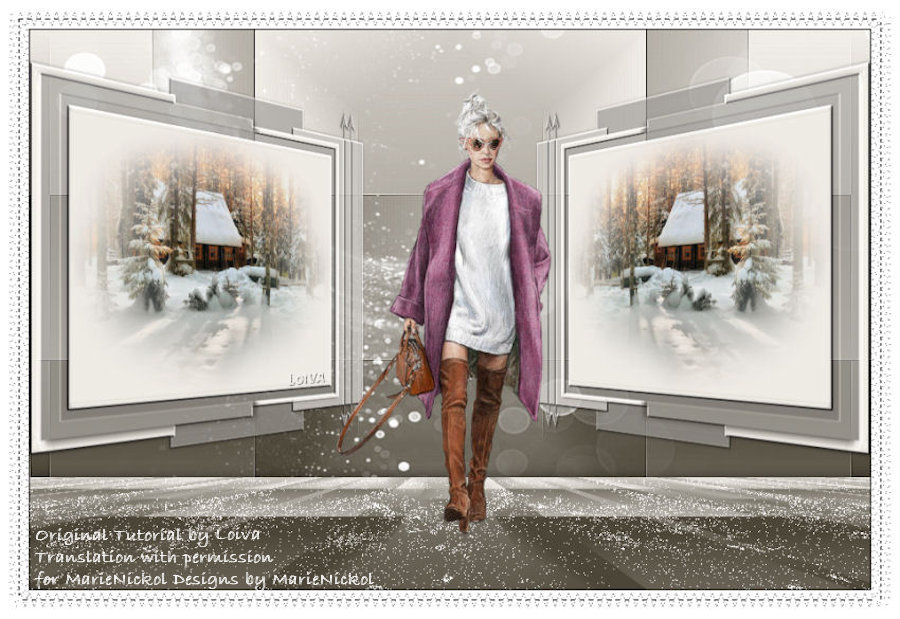
Thank you Loiva for the permission to translate your tutorial.
Translated by Marie Nickol.
You will find the original tutorial here:

This tutorial is a personal creation by Loiva.
Any resemblance with another one would only be pure coincidence.
Thank you for the respect of Loiva’s work and the tubers work.
These translations are mine and are intended for personal use only and it is forbidden to copy part or all of it.
You can use this tutorial for PSP lessons but please put the link back to it.
Do not hesitate to let Loiva or me know if you have any problem with the present tutorial.

Materials used:
Disclaimer: Modifying or renaming files or removing watermarks from the tubes of the original tubers provided in the materials and sharing them as your own or using them for sale online or otherwise is prohibited.
1 character tube by Elaine
1 scenery tube by Silvie
2 masks by Narah
Plugins used:
Mehdi /Sorting Tiles
Mura's Meister / Perspective Tiling
User Defined Filter / Emboss 3
Andromeda / Perspective
Materials

This translation is written with PSP 2018 Ultimate, if you work with other versions some things might be different but the result will be the same.
Note: In the latest versions of PSP the command Image-Mirror has become Image - Mirror - Mirror Horizontal
and Image-Flip has become Image - Mirror - Mirror Vertical
Preparations
Duplicate all the tubes and work with the copies to preserve the originals.
Colors used:

Note: From your misted landscape image choose one dark color as Foreground color and one light color as Background color.
When
working with your own colors, adjust the Blend Mode/Opacity at your own discretion
Loiva chose the following colors:
Material Properties - Foreground: Set your Foreground color to color #4c4638
Material Properties - Background: Set your Background color to #eeeae4
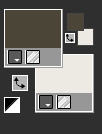
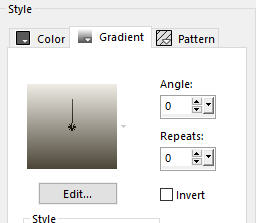
Materials Properties: Set your Background Color to Linear style gradient (Corel_06_029) with the following settings
The Tutorial
Step 1
File - New - Open a new Transparent image 900 x 600 pixels
Flood fill tool / Fill in the layer with the Linear gradient prepared above
Step 2
Effects - Plugins - Mehdi - Sorting Tiles
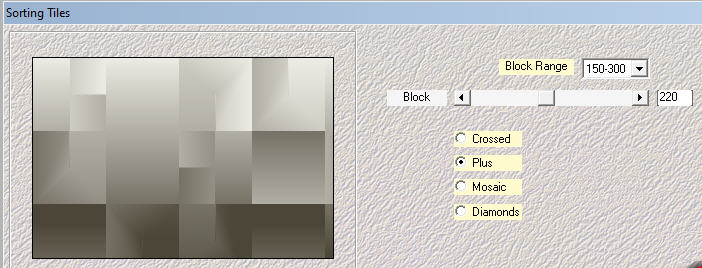
Step 3
Effects - Reflection Effects - Rotating Mirror
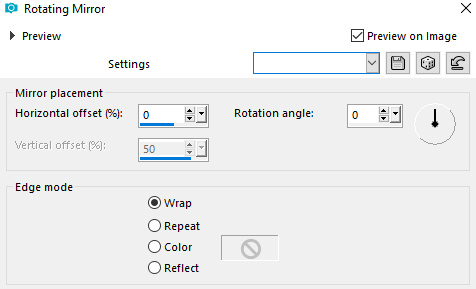
Step 4
Effects - Edge Effects - Enhance More
Layers - Duplicate
Effects - Plugins - Mura's Meister - Perspective Tiling
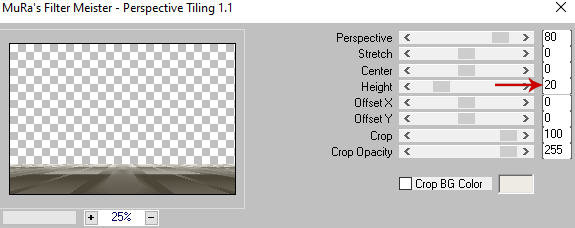
Step 5
Effects - 3D Effects - Drop Shadow (0/0/50/20) color #000000 - Shadow on new layer not checked
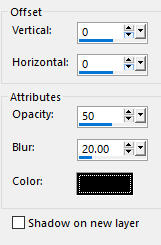
Step 6
Activate the layer beneath - Raster 1
View - Rulers (tick on Rulers)
Pick Tool (K)  - Mode Scale - Move the layer upwards to 470
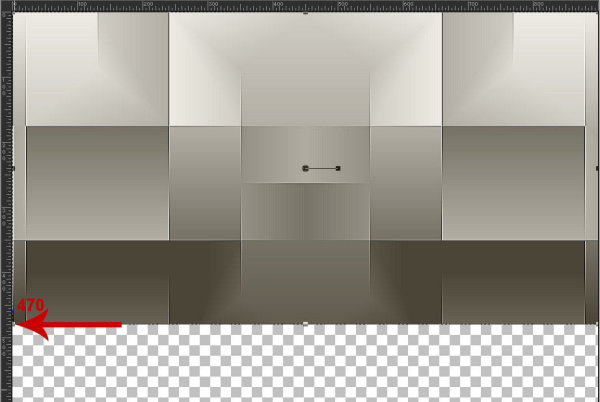
View - untick Rulers
On your keyboard press the M button (or click on any other tool e.g. Selection Tool S) to close the Pick Tool
Step 7
Materials Properties: Set your Foreground color to color white #ffffff
Layers - New Raster Layer
Flood fill tool / Fill in the layer with your Foreground white color
Layers - Arrange - Bring to Top
Open mask - NarahsMasks_1536
Layers - New Mask Layer - From Image (Invert mask data not checked)
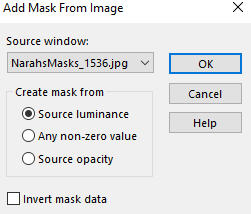
Layers - Merge - Merge Group
View - Rulers (tick on Rulers again)
Pick Tool (K)  - Mode Scale - Move the mask layer upwards to 470 as in step 6 above
View - untick Rulers
On your keyboard press the M button (or click on any other tool e.g. Selection Tool S) to close the Pick Tool
Layers - Duplicate
Effects - Plugins - Mura's Meister - Perspective Tiling
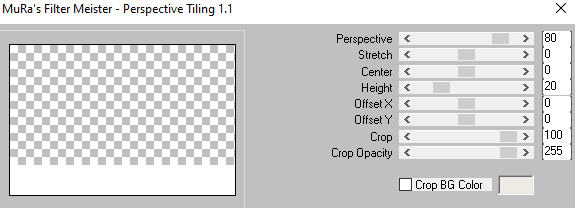
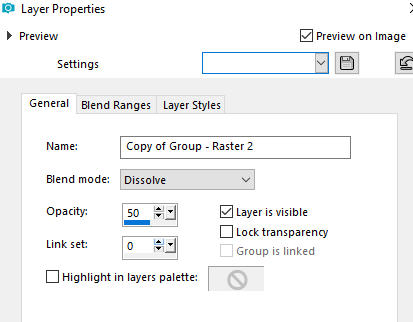
In your Layer Properties - set the Blend mode to Dissolve and the Opacity to 50
Step 8
Layers - New Raster Layer
Flood fill tool /Fill in the Layer with the light Background Color #eeebe4
Open mask - Narah_Mask_1481
Layers - New Mask Layer - From Image (Invert mask data not checked)
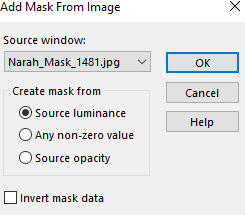
Layers - Merge - Merge Group
Step 9
Effects - 3D Effects - Drop Shadow (0/0/50/5) color #000000 - Shadow on new layer not checked
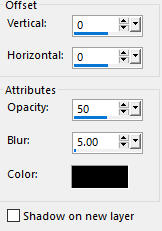
Step 10
Image - Resize - 80% - Resize All Layers - Not Checked
Effects - User Defined Filter - Emboss 3
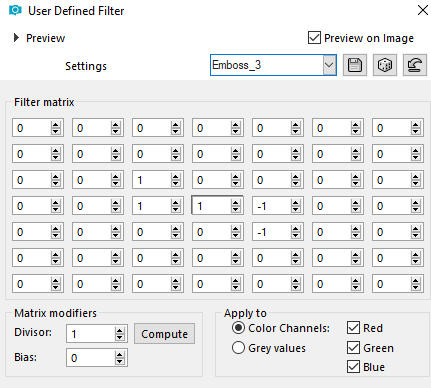
Step 11
Activate the Selection Tool (S)  - Rectangle Selection type
Select the inner rectangle
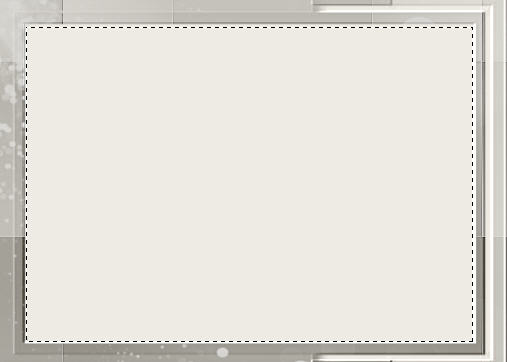
Open tube - Winter29_Silvie_11.07.2018 (or your own misted landscape)
Edit - Copy
Edit - Paste - Paste into Selection on your working image
Selections - Select None
Step 12
Effects - Plugins - Andromeda - Perspective
Click on Preset
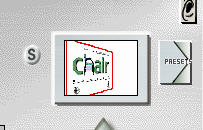
A new window opens
Click on Side Walls - choose It Open Close and click OK
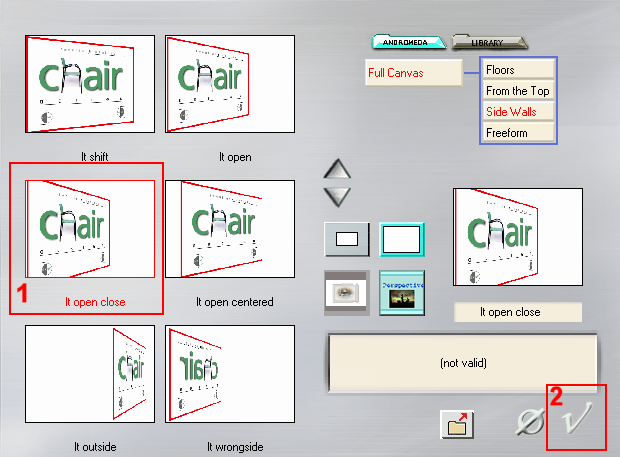
The Window closes and click OK again
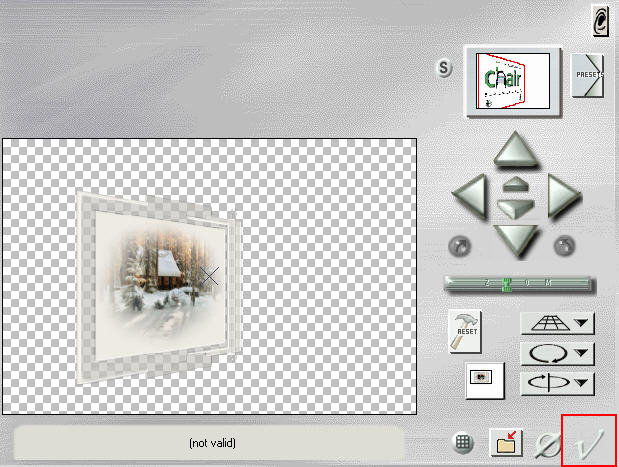
Step 13
Activate the Pick Tool (K) 
Enter these values for positions X and Y on the Toolbar
Position X: -4.00 Position Y: 30.00

Step 14
Layers - Duplicate
Image - Mirror
Step 15
Open tube - Woman A002-2020_byElaine
(Note: or any other character tube to your liking)
Edit - Copy
Edit - Paste - Paste As New Layer on your working image
Image - Resize - 70% - Resize All Layers - Not Checked
Step 16
Image - Add Borders - 1px - Symmetric checked - Color black #000000
Image - Add Borders - 10px - Symmetric checked - Color white #ffffff
Image - Add Borders - 1px - Symmetric checked - Color black #000000
Selections - Select All
Image - Add Borders - 20px - Symmetric checked - Color white #ffffff
Selections - Invert
Effects - Distortion Effects - Wave
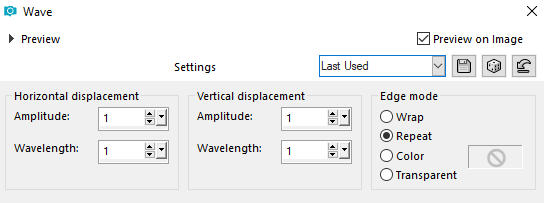
Selections - Select None
Step 17
Layers - New Raster Layer
Add your name or watermark
Layers - Merge - Merge All (Flatten)
Image - Resize - 900 pixels width (the height will adapt)
File - Export - Save as JPG file
~~~~~~~
My version with woman tube by Valy Scrap Passion and my own misted landscape
