
Original tutorial by Anja
Thank you Anja for the permission to translate your tutorial.
Translated by Marie Nickol.
You will find the original tutorial here:

This tutorial is a personal creation by Anja.
Any resemblance with another one would only be pure coincidence.
Thank you for the respect of Anja’s work and the tubers work.
These translations are mine and are intended for personal use only and it is forbidden to copy part or all of it.
If you would like to use Anja's lesson for a PSP group,
Please contact Anja via psp.anja@gmail.com
Materials used:
Disclaimer: Modifying or renaming files or removing watermarks from the tubes of the original tubers provided in the materials
and sharing them as your own or using them for sale online or otherwise is prohibited.
4 tubes
2 selections
1 mask
Plugins used:
Mehdi - Wavy Lab 1.1
Filters Unlimited 2.0 / Render
AAA Frames / Foto Frame
Nik Software - Color Efex Pro 3.0 Complete
Note: Render plugin can be used alone and it can also be imported into Filters Unlimited 2.0
Materials

The original tutorial is written with PSP 2020.
The present translation is written with PSP 2020.
If you work with other versions some things might be different but the result will be the same.
Note: In the latest versions of PSP the command Image-Mirror has become Image - Mirror - Mirror Horizontal
and Image-Flip has become Image - Mirror - Mirror Vertical
Note: I use a script for the old commands of Image-Mirror and Image-Flip
Note: I work with the old Material Properties - in PSP 2018, 2019, 2020
under File - Preferences - General Program Preferences - check Use classic Material Properties
Preparations
Place the tubes in a folder of your choice.
Duplicate all the tubes and work with the copies to preserve the originals.
Place the selections into your Selections folder of PSP.
Place the mask into your Masks folder of PSP.
If you don't have the plugins install them into your Plugins folder for PSP
You can find my plugins page - Here
Colors used:
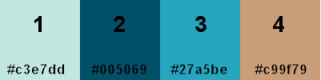
The color palette is included in the materials.
Note: When working with your own colors, adjust the Blend Mode/Opacity at your own discretion
You may need to colorize some of the elements to suit your own colors.
The Tutorial
Step 1
Open the image - kleurenpalet welcome spring
These are the colors to work with
Step 2
Material Properties - Foreground: Set your Foreground color to color 1 
Material Properties - Background: Set your Background color to color 2 
Step 3
File - New - Open a new Transparent image 900 x 600 pixels
Step 4
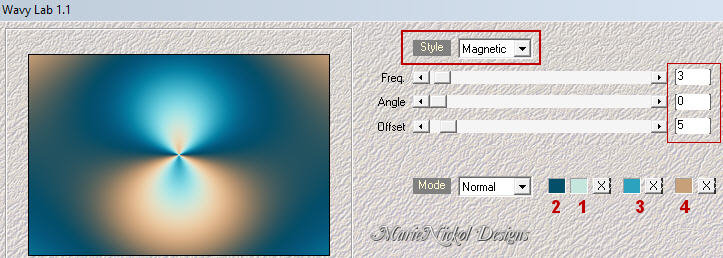
Effects - Plugins - Mehdi - Wavy Lab 1.1
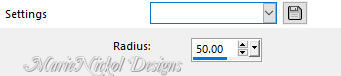
Step 5
Adjust - Blur - Gaussian Blur (Radius 50)
Step 6
Layers - Duplicate
Step 7
Image - Mirror - Mirror Vertical
(Note: older versions of PSP - Image - Flip)
In your Layer Properties - set the Opacity to 50
Step 8
Layers - Merge - Merge Down
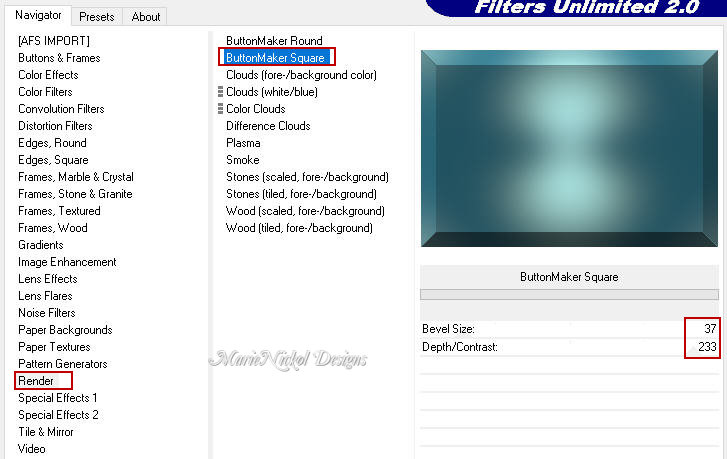
Step 9
Effects - Plugins - <I.C.NET Software> - Filters Unlimited 2.0 - Render - ButtonMaker Square (default settings)
Step 10
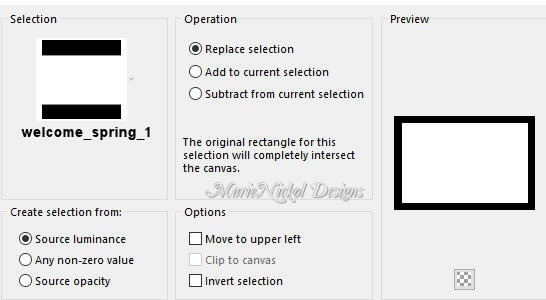
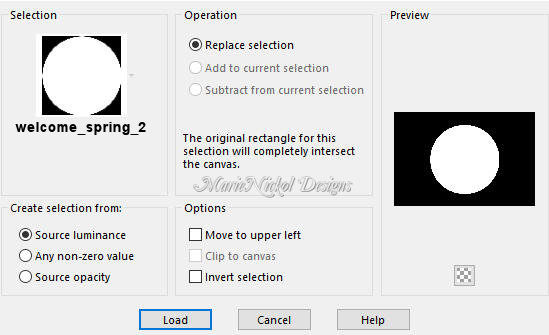
Selections - Load/Save Selection - Load Selection From Disk
Look for and load the selection - welcome_spring_1
Step 11
Selections - Invert
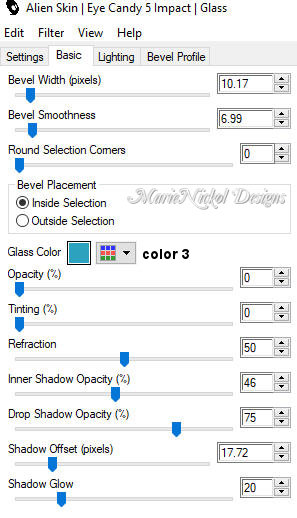
Step 12
Effects - Plugins - Alien Skin - Eye Candy 5 - Impact - Glass
In the User Settings apply preset Clear with the following settings
Step 13
Selections - Invert
Step 14
Selections - Promote Selection to Layer
Step 15
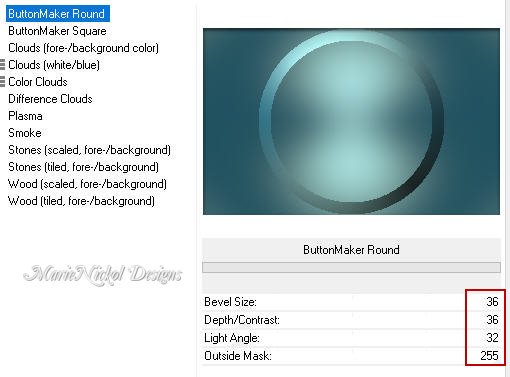
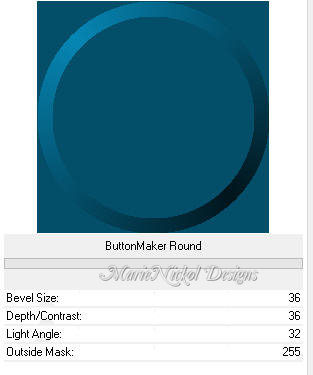
Effects - Plugins - <I.C.NET Software> - Filters Unlimited 2.0 - Render - ButtonMaker Round (default settings)
Step 16
Selections - Select None
Step 17
Effects - Image Effects - Seamless Tiling (preset Side by side)

Step 18
Selections - Load/Save Selection - Load Selection From Disk
Load the selection - welcome_spring_1 again
Step 19
Selections - Invert
Step 20
Press the DELETE key on your keyboard
Step 21
Selections - Select None
Step 22
In your Layer Properties - set the Blend mode to Overlay
Step 23
Selections - Load/Save Selection - Load Selection From Disk
Look for and load the selection - welcome_spring_2
Step 24
Open tube - welcome_spring_1
Edit - Copy
Edit - Paste - Paste As New Layer on your working image
Step 25
Selections - Invert
Step 26
Press the DELETE key on your keyboard
Step 27
Selections - Invert
Step 28
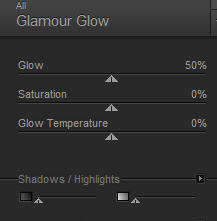
Effects - Plugins - Nik Software - Color Efex Pro 3.0 Complete - Glamour Glow
Step 29
In your Layer Properties - set the Opacity to 80
Step 30
Layers - New Raster Layer
Step 31
Effects - Plugins - <I.C.NET Software> - Filters Unlimited 2.0 - Render - ButtonMaker Round (default settings)
Step 32
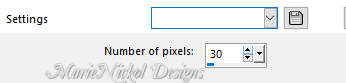
Selections - Modify - Contract (Number of pixels 30)
Step 33
Press the DELETE key on your keyboard
Step 34
Selections - Select None
Step 35
Layers - Duplicate
Step 36
Image - Resize - 75% - Resize All Layers - Not Checked
Step 37
Layers - Duplicate
Step 38
Image - Resize - 75% - Resize All Layers - Not Checked
Step 39
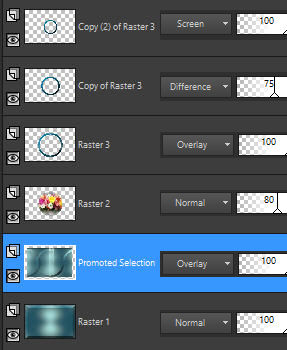
In your Layer Properties - set the Blend mode to Screen
Step 40
Activate the layer underneath - Copy of Raster 3 (the middle circle)
In your Layer Properties - set the Blend mode to Difference and the Opacity to 75
Step 41
Activate the layer underneath - Raster 3 (the largest circle)
Step 42
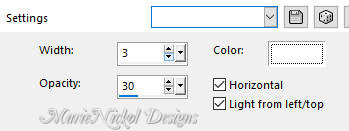
Effects - Texture Effects - Blinds
Step 43
In your Layer Properties - set the Blend mode to Overlay
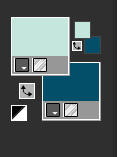
Your layers look like this:
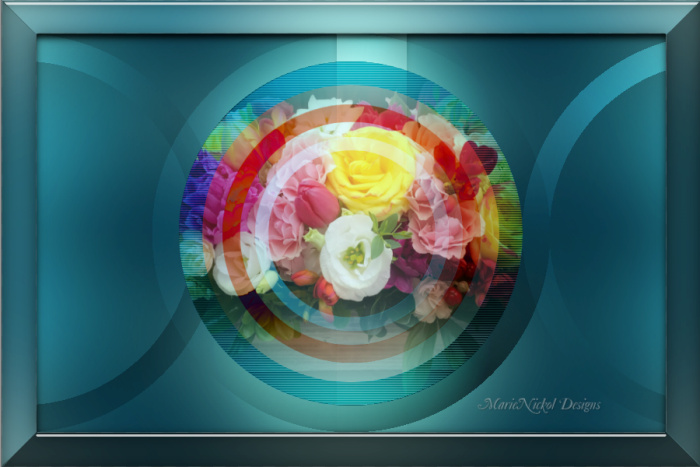
Your image looks like this:
Step 44
Activate the top layer - Copy (2) of Raster 3
Step 45
Selections - Load/Save Selection - Load Selection From Disk
Load the selection - welcome_spring_1 again
Step 46
Layers - New Raster Layer
Step 47
Flood fill tool /Fill in the Selection with Color 1
Step 48
Layers - Load/Save Mask - Load Mask From Disk
Look for and load mask - Narah_mask_0295
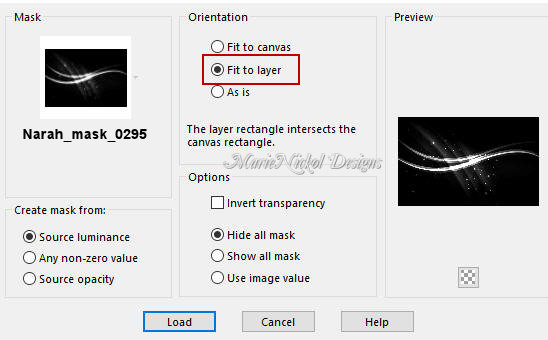
Step 49
Layers - Merge - Merge Group
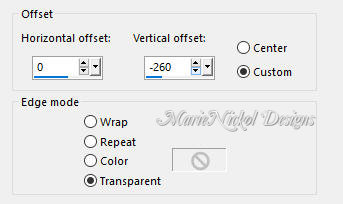
Step 50
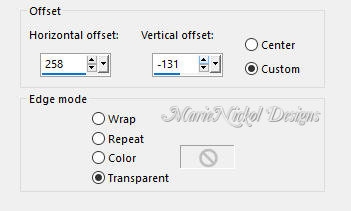
Effects - Image Effects - Offset
Step 51
Selections - Select None
Step 52
In your Layer Properties - set the Blend mode to Dodge and the Opacity to 65
Step 53
Layers - Duplicate
Step 54
Image - Mirror - Mirror Horizontal - (older versions of PSP Image - Mirror)
Image - Mirror - Mirror Vertical - (older versions of PSP Image - Flip)
Step 55
Open tube - welcome_spring_2
Edit - Copy
Edit - Paste - Paste As New Layer on your working image
Step 56
In your Layer Properties - set the Blend mode to Screen
Step 57
Open tube - woman_long_dress_3_140520
Remove the watermark
Edit - Copy
Edit - Paste - Paste As New Layer on your working image
Step 58
Image - Resize - 75% - Resize All Layers - Not Checked
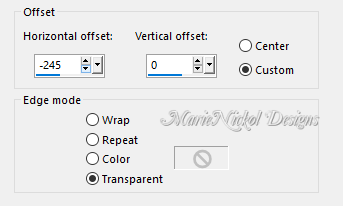
Step 59
Effects - Image Effects - Offset
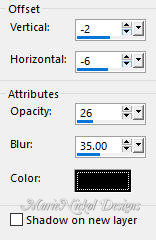
Step 60
Effects - 3D Effects - Drop Shadow (-2/-6/26/35.00) color #000000 - Shadow on new layer not checked
Step 61
Adjust - Sharpness- Sharpen
Step 62
Open tube - welcome_spring_3
Edit - Copy
Edit - Paste - Paste As New Layer on your working image
Step 63
Effects - Image Effects - Offset
Step 64
Effects - 3D Effects - Drop Shadow (-2/-6/26/35.00) color #000000 - Shadow on new layer not checked
Step 65
Activate the bottom layer -Raster 1
Step 66
Layers - Duplicate
Step 67
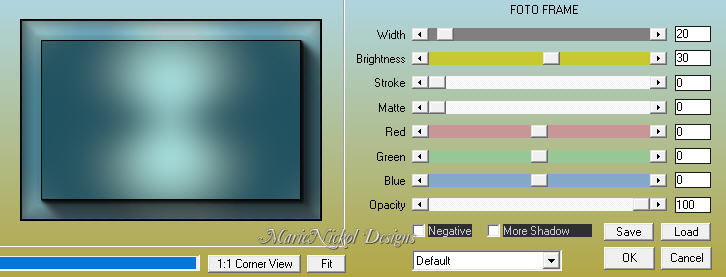
Effects - Plugins - AAA Frames - Foto Frame
Step 68
In your Layer Properties - set the Blend mode to Overlay and the Opacity to 50%
Step 69
Image - Add Borders - 1px - Symmetric checked - color white #ffffff
Step 70
Layers - New Raster Layer
Add your name or watermark
Step 71
File - Export - Save as JPG file
~~~~~~~
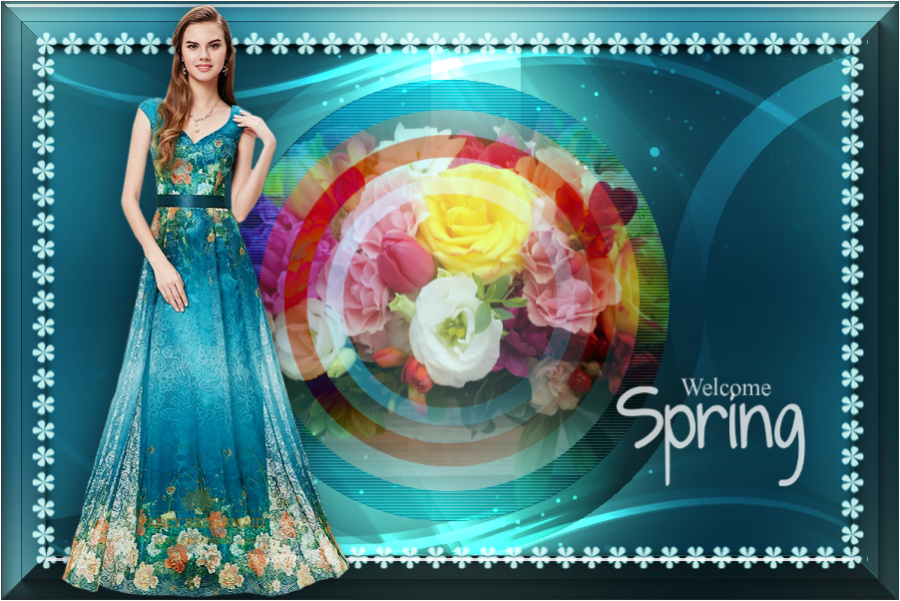
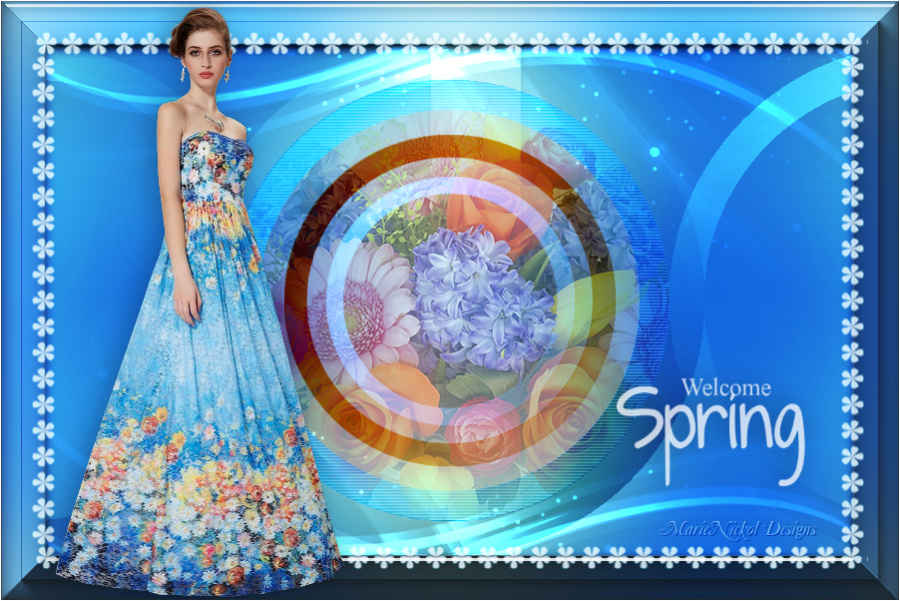
My version with my own tubes
~~~~~~~