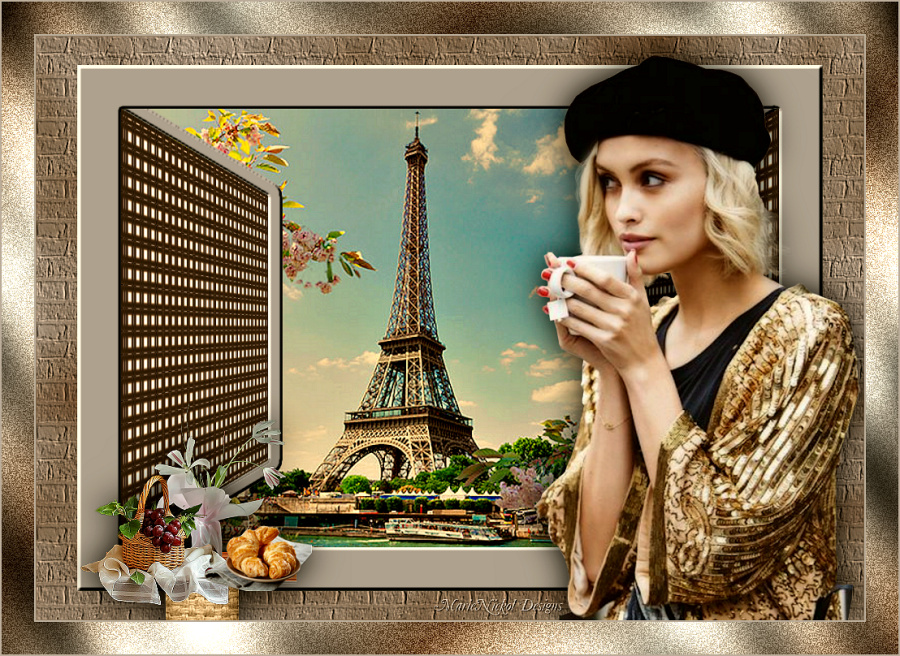
Original tutorial by Animabelle
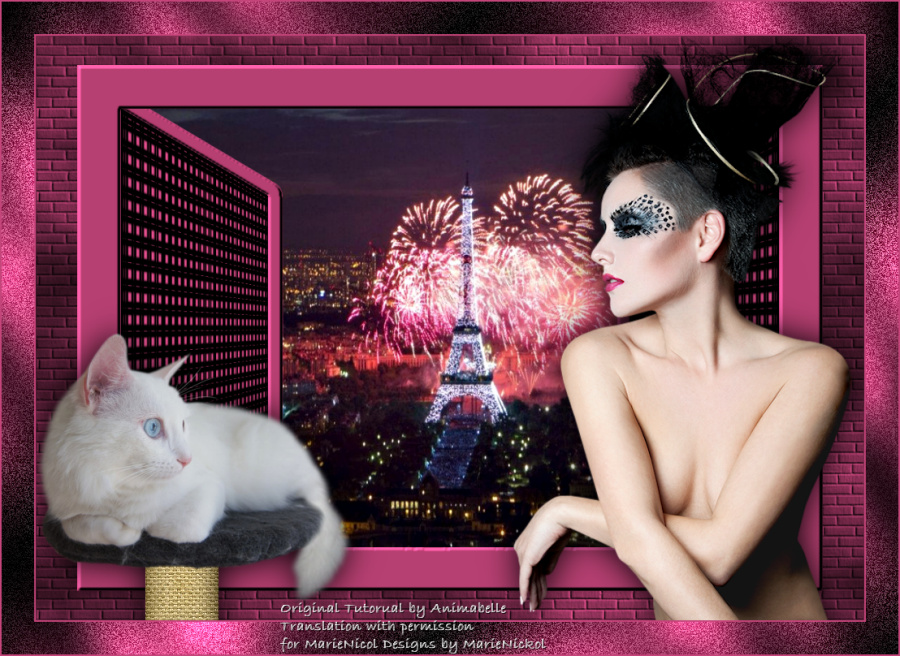
Thank you Animabelle for the permission to translate some of your tutorials.
Translated by Marie Nickol.
You will find the original tutorial here:

This tutorial is a personal creation.
Any resemblance with another one would only be pure coincidence.
Thank you for the respect of Animabelle’s work and the tubers work.
These translations are mine and are intended for personal use only and it is forbidden to copy part or all of it.
You can use this tutorial for PSP lessons but please put the link back to it.
Do not hesitate to let Animabelle or me know if you have any problem with the present tutorial.

Materials used:
Disclaimer: Modifying or renaming files or removing watermarks from the tubes of the original tubers provided in the materials and sharing them as your own or using them for sale online or otherwise is prohibited.
1 character tube by Annelies
1 tube by Animabelle
1 landscape image
1 texture tile by Animabelle
1 preset
Plugins used:
MuRa's Meister / Cloud
Alien Skin / Eye Candy 5 - Impact - Perspective Shadow
AAA Filters / Granularity
Graphic plus / Cross shadow (It can be used alone and it can also be imported into Filters Unlimited 2.0)
Thank you Renée for sharing your plugins page
==> Here
Materials

The original tutorial was written with PSP 12 but can be done with other versions as well.
This translation is written with PSP 2018 Ultimate, if you work with other versions some things might be different but the result will be the same.
Note: In the latest versions of PSP the command Image-Mirror has become Image - Mirror - Mirror Horizontal
and Image-Flip has become Image - Mirror - Mirror Vertical
Preparations
Duplicate all the tubes and work with the copies to preserve the originals.
Double click on the Alien Skin Preset provided in the materials and it will automatically install in the appropriate filter for your PSP
Colors used:

Note: When
working with your own colors, adjust the Blend Mode/Opacity at your own discretion
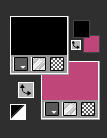
Material Properties - Foreground: Set your Foreground color to color 1  #000000
Material Properties - Background: Set your Background color to color 2  #c4457a
The Tutorial
Step 1
File - New - Open a new Transparent image 900 x 600 pixels
Flood fill tool / Fill the layer with your foreground color 1  #000000
Effects - Texture Effects - Tiles
Tile shape: Square - Tile color 2  #c4457a

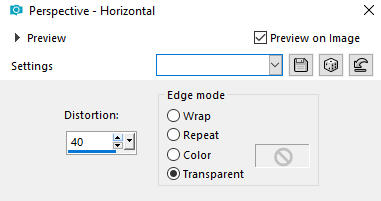
Effects - Geometric effects - Perspective-Horizontal
Use the following settings:
View - Rulers (tick on the Rulers to activate them)
Activate the Pick Tool (K)  Mode Scale
With the left mouse clicked, shift the right center knot to 200
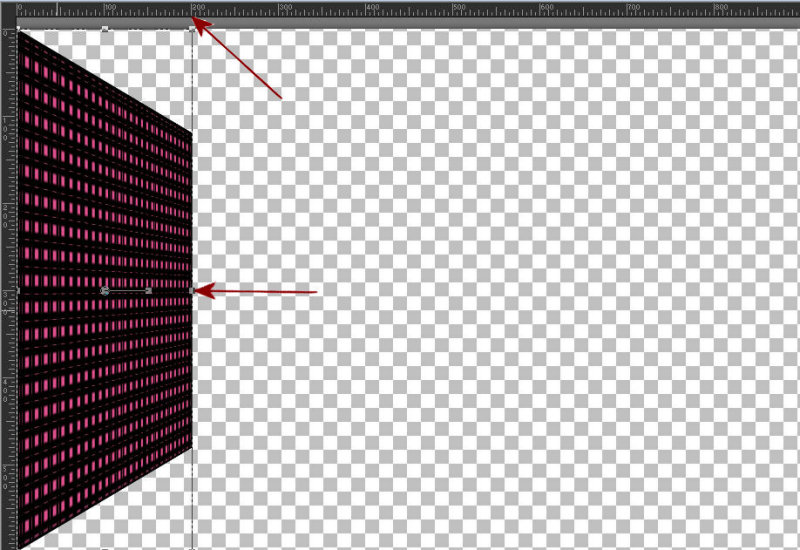
View - Rulers (untick Rulers)
Deactivate the Pick Tool by pressing the M key on your keyborard (or click on any other tool, for example the Selection Tool to release it)
Step 2
Layers - Duplicate
Image - Mirror
Layers - Merge - Merge Down
Selections - Select All
Selections - Float
Selections - Modify - Select Selection Borders
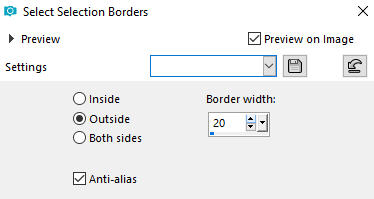
Selections - Promote Selection to Layer
Flood fill tool /Fill in the Selection with the Background Color 2  #c4457a
Effects - 3D Effects - Inner Bevel
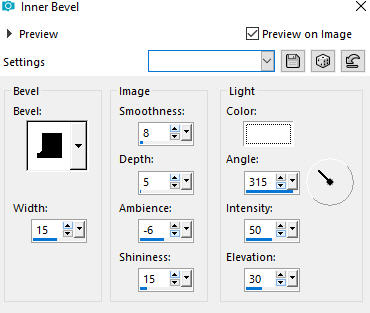
Selections - Select None
Layers - Merge - Merge Down
Step 3
Layers - New Raster Layer
Layers - Arrange - Move down
Selections - Select All
Open image - image_paris
Edit - Copy
Edit - Paste - Paste into Selection on your working image
Adjust - Sharpness - Unsharp Mask
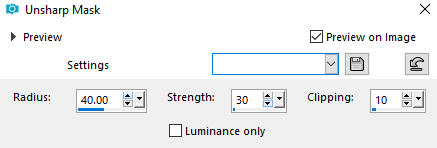
Selections - Select None
Step 4
Image - Add Borders - Symmetric checked - 60px - any contrasting color (I chose white)
Activate the Magic Wand  (Tolerance 0 and Feather 0)
Flood fill tool /Fill in the Selected border the Background Color 2  #c4457a
Effects - 3D Effects - Inner Bevel (settings as above - the settings are still in memory)
Selections - Select None
Step 5
Layers - Promote Background Layer
Image - Resize - 90% - Resize All Layers - Not Checked
Step 6
Layers - New Raster Layer
Effects - Plugins - Mura's Meister - Cloud
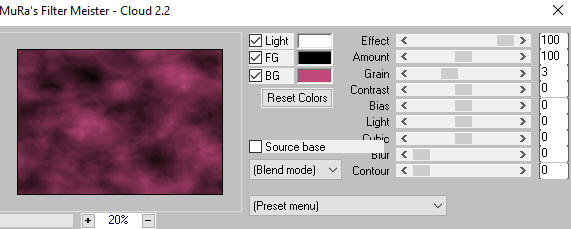
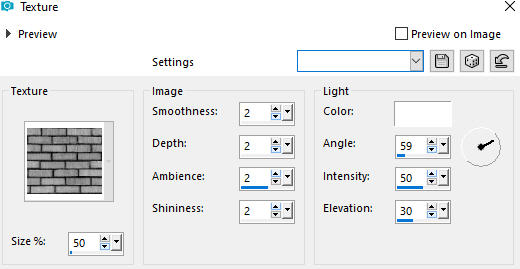
Effects - Texture Effects - Texture
From the drop down menu choose texture Bricks or Brick wall or any other texture to your liking.
Layers - Arrange - Move down
Step 7
Activate the top Layer - Raster 1
Open the lady tube - Alies 12VR64-woman-30012013
Edit - Copy
Edit - Paste as New Layer on your working image
Image - Resize 105% - Resize all layers not checked
Move the tube at the bottom right as shown on the final result
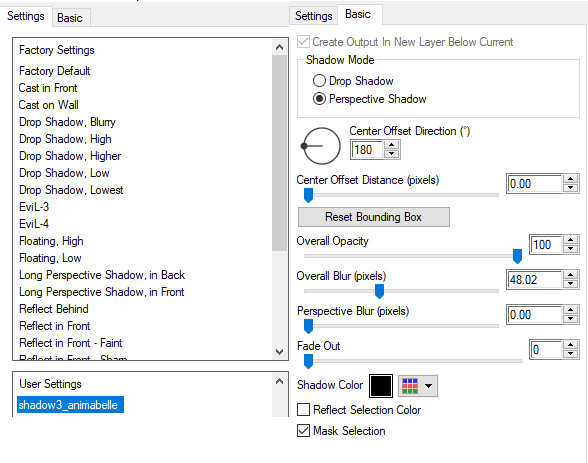
Effects - Plugins - Alien Skin - Eye Candy 5 - Impact - Perspective Shadow
In the User Settings look for preset shadow3_animabelle provided in the materials and click OK
Note: If the Preset doesn't work for you, use these settings in the Basic Tab:
Step 8
Open tube - persan_animabelle
Edit - Copy
Edit - Paste as New Layer on your working image
Image - Resize 70% - Resize all layers not checked
Move the tube to the left side as shown on the final result
Adjust - Sharpness- Sharpen
Minimize your working image for a while
Step 9
File - New - Open a new Transparent image 90 x 150 pixels
Open texture tube - tuile_animabelle - provided in the materials
Materials Properties: Set your Foreground to color 1 #000000
Materials Properties: Set your Background to Pattern
On the drop down menue - set the pattern on - tuile_animabelle
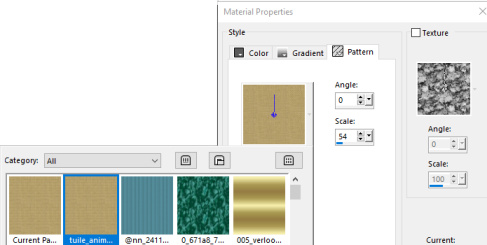
Settings - Angle 0 - Scale 54
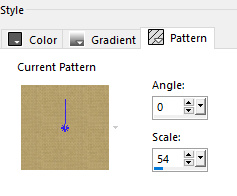
You have this on the Material Properties
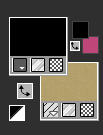
Flood fill tool / Fill in the transparent layer with the Pattern above
Effects - 3D Effects - Buttonize
Use the following settings (color #9b8752)
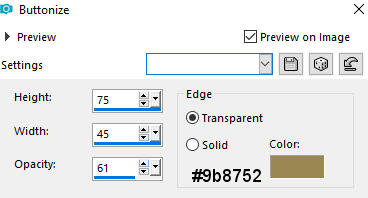
Step 10
Edit - Copy
Maximize your working image
Edit - Paste - Paste As New Layer on your working image
Layers - Arrange - Move down
Position it just below the black cushion as shown on the final result
Adjust - Sharpness- Sharpen
Activate the top layer - Raster 4 (the cat layer)
Layers - Merge - Merge Down
Effects - Plugins - Eye Candy 5 - Impact - Perspective Shadow
Use the same settings as above - shadow3_animabelle - (settings are still in memory)
Step 11
Materials Properties: Set your Foreground back to color 2  #c4457a
Materials Properties: Set your Foreground Color to Foreground-Background Linear gradient (Corel_06_029) with the following settings:
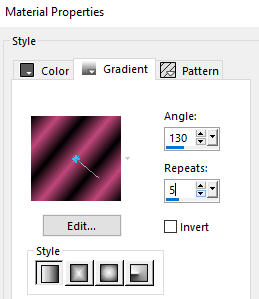
Image - Add Borders - Symmetric checked - 2px - Color 2  #c4457a
Image - Add Borders - Symmetric checked - 40px - Color 1  #000000
Activate the Magic Wand  (Tolerance 0 and Feather 0)
Select the last black border
Selections - Promote Selection to Layer
Flood fill tool / Fill in the border with the Linear gradient you just prepared
Effects - Plugins - AAA Filters - Granularity
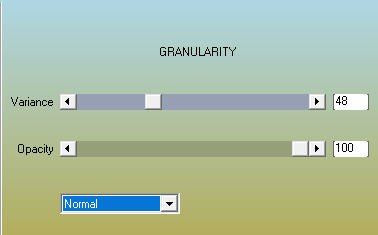
Effects - Plugins - Graphic plus - Cross shadow

Selections - Select None
Image - Add Borders - Symmetric checked - 2px - Color 2  #c4457a
Image - Resize - 900 pixels width (the height will adapt)
Layers - New Raster Layer
Add your name or watermark
Layers - Merge - Merge All (Flatten)
File - Export - Save as JPG file
~~~~~~~
My version with my own tubes and deco mixed by Isa and Claudia Visa
