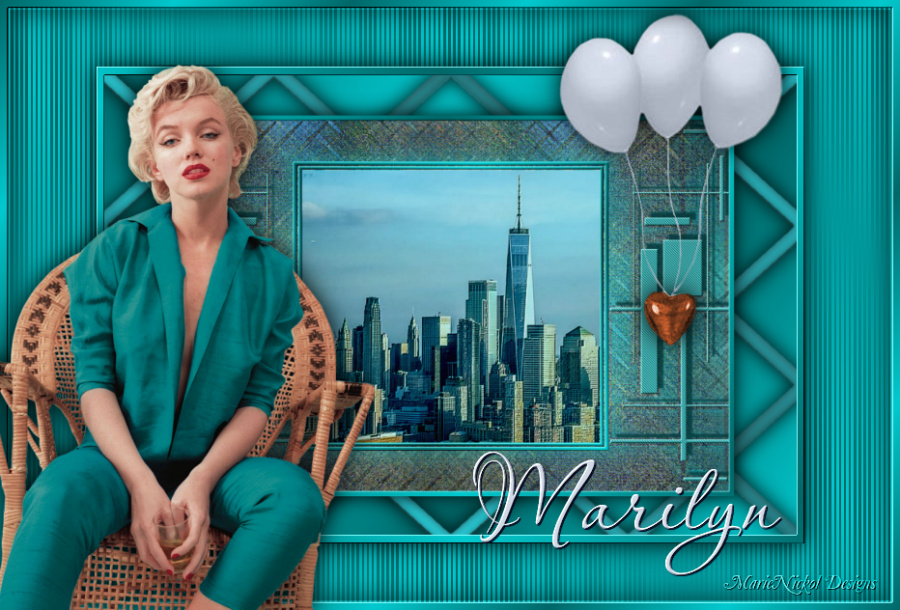
Original tutorial by Animabelle
Thank you Animabelle for the permission to translate some of your tutorials.
Translated by Marie Nickol.
You will find the original tutorial here:

This tutorial is a personal creation.
Any resemblance with another one would only be pure coincidence.
Thank you for the respect of Animabelle’s work and the tubers work.
These translations are mine and are intended for personal use only and it is forbidden to copy part or all of it.
You can use this tutorial for PSP lessons but please put the link back to it.
Do not hesitate to let Animabelle or me know if you have any problem with the present tutorial.

Materials used:
Disclaimer: Modifying or renaming files or removing watermarks from the tubes of the original tubers provided in the materials and sharing them as your own or using them for sale online or otherwise is prohibited.
1 Character tube by DBK
1 Tube by Corinne Vicaire
1 Mask by SG
1 image scenery
2 Presets
Plugins used:
Alien Skin / Eye Candy 5 - Impact
FM Tile Tools
Sapphire Filters 03 (this plugin can also be imported in Filters Unlimited 2.0)
FunHouse (this plugin can also be imported in Filters Unlimited 2.0)
Penta.com (this plugin can also be imported in Filters Unlimited 2.0)
MuRa's Seamless (this plugin can also be imported in Filters Unlimited 2.0)
AP [Distort]
Thank you Renée for sharing your plugins page
==> Here
Materials

The original tutorial was written with PSP 12 but can be done with other versions as well.
This translation is written with PSP 2018 Ultimate, if you work with older versions some things might be different but the result will be the same.
Preparations
Duplicate all the tubes including the mask and work with the copies to preserve the originals.
Double click on the two Alien Skin Presets provided in the materials and they will automatically install in the appropriate filter for your PSP
Place the Selections into your Selections folder of PSP
Colours used:

Note: When
working with your own colors, adjust the Blend Mode/Opacity at your own discretion
The Lesson
Step 1
Open a new Transparent image 900 x 600 pixels
Fill the layer with your colour 2 
Layers - New Raster Layer
Selections - Select All
Open image (new_york_image)
Edit - Copy
Edit - Paste into Selection
Selections - Select None
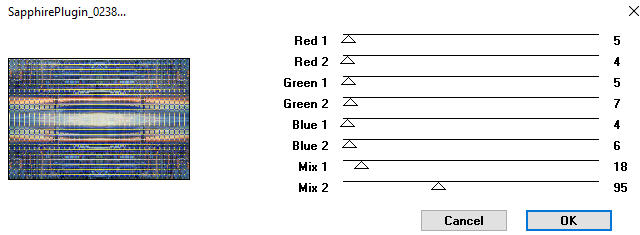
Effects - Plugins - Sapphire Filters 03 - SapphirePlugin_0238 (default settings)
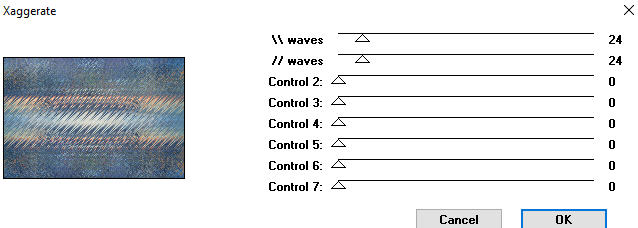
Effects - Plugins - FunHouse - Xaggerate (default settings)
Step 2
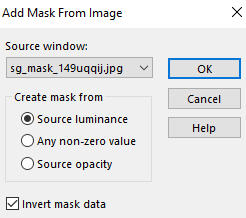
Open mask sg_mask_149uqqij
Layers - New Mask Layer - From Image
Apply mask sg_mask_149uqqij - Invert mask data checked
Layers - Merge - Merge Group
Step 3
Layers - New Raster Layer
Selections - Load/Save Selection - Load Selection From Disk
Look for and load the selection - marilyn1_animabelle
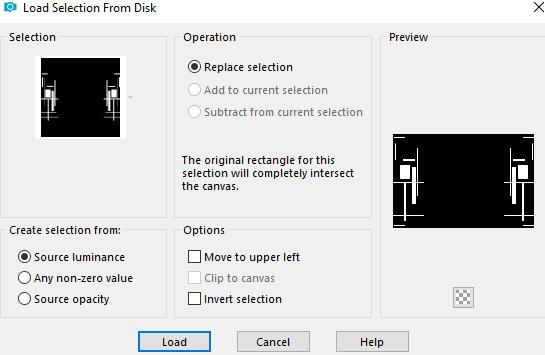
Fill the selection with your colour 1 
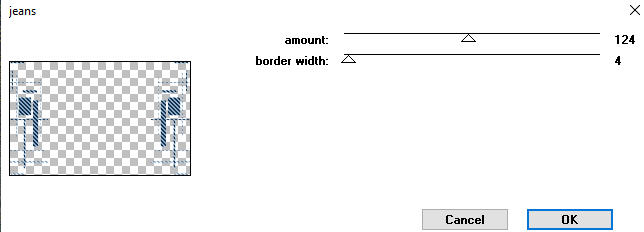
Effects - Plugins - Penta.com - Jeans
Selections - Select None
Effects - Plugins - Mura's Seamless - Emboss at Alpha / Default settings

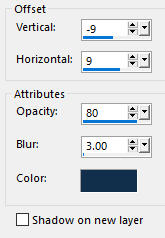
Effects - 3D Effects - Drop Shadow - (- 9 / 9 / 80 / 3 /) Colour 3 #11304c  - Shadow on new layer not checked
Layers - Merge - Merge Down
Step 4
Layers - New Raster Layer
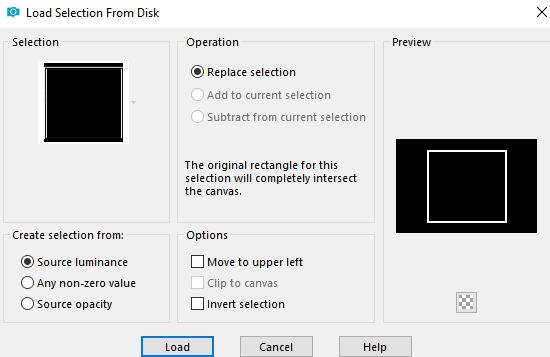
Selections - Load/Save Selection - Load Selection From Disk
Look for and load the selection - marilyn2_animabelle
Prepare a gradient with color 1  and color 2
  - Style Linear
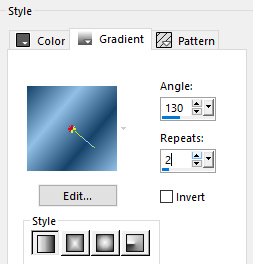
Fill the Selection with the gradient
Selections - Select None
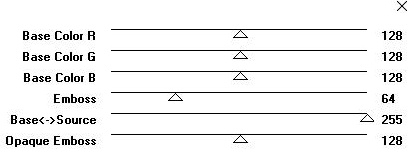
Effects - Plugins - Mura's Seamless - Emboss at Alpha / Default settings
Step 5
Activate the Magic Wand  (Tolerance 0 and Feather 0)

Select the inner central part of the square
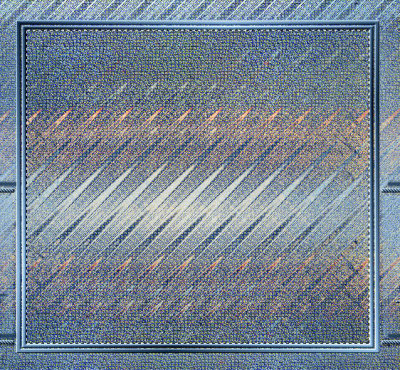
Open image (new_york2_image)
Edit - Copy
Edit - Paste into Selection
Effects - Plugins - FM Tile Tools - Blend Emboss - default settings
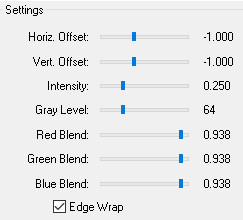
Selections - Select None
Step 6
Image - Add Borders - 8px - Symmetric checked - any contrasting colour (I used white #fffff)
Activate the Magic Wand  (Tolerance 0 and Feather 0)
Select the border with the magic wand
Layers - New Raster Layer
Fill in the border with linear gradient prepared above
Image - Flip
Note: In the latest versions of PSP the command Image-Mirror has become Image - Mirror - Mirror Horizontal and Image-Flip is Image - Mirror - Mirror Vertical
Selections - Select None
Effects - Plugins - Mura's Seamless - Emboss at Alpha / Default settings - (the same as above)
Layers - Merge - Merge Down
Layers - Promote Background Layer
Step 7
Image - Resize - 80% - Resize All Layers - Not Checked
Effects - Plugins - Alien Skin - Eye Candy 5 - Impact - Perspective Shadow
Look for preset shadow5_animabelle provided in the materials and click OK
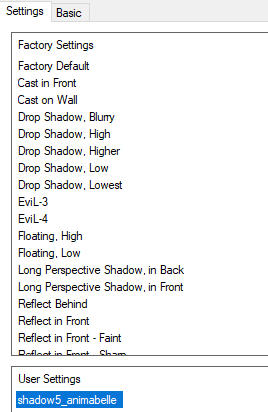
Note: If the Preset doesn't work for you, use these settings in the Basic Tab:
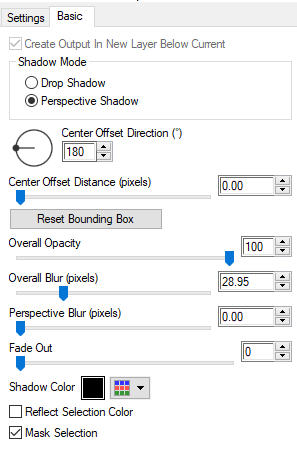
Layers - New Raster Layer
Layers - Arrange - Move Down
Fill in the Layer with linear gradient prepared above
Adjust - Blur - Gaussian Blur (Radius 15)
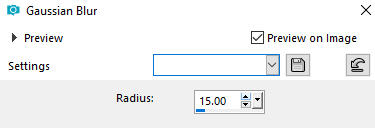
Effects - Plugins - Mura's Seamless - Tile Frame Diagonal (default settings)

Step 8
Close the top layer - Raster 1
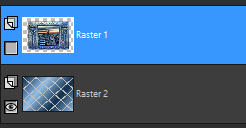
Activate the Magic Wand  (Tolerance 0 and Feather 0)
Select the light parts of the diagonals
Selections - Promote Selection to Layer
Fill in the Selection with the same gradient
Image - Flip
Effects - Plugins - Alien Skin - Eye Candy 5 - Impact - Glass
Look for preset glass1 provided in the materials and click OK
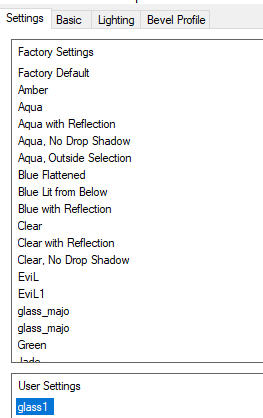
Note: If the Preset doesn't work for you, use these settings in the Basic Tab:
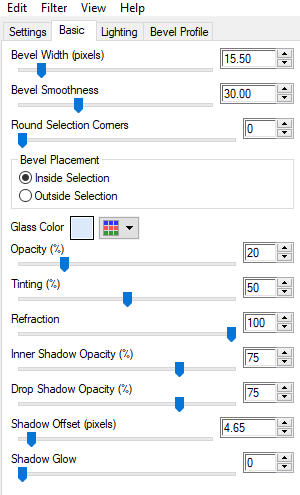
Selections - Select None
Effects - Plugins - Alien Skin - Eye Candy 5 - Impact - Perspective Shadow
Use the same settings as above (preset shadow5_animabelle)
Reopen the top layer Raster 1
Layers - Merge - Merge Visible
Step 9
Image - Resize - 80 % - Resize All Layers - Not Checked
Activate the magic wand  and select the transparent part around the image
Selections - Invert
Selections - Modify - Select Selection Borders

Layers - New Raster Layer
Fill in the Selection with the same linear gradient
Image - Flip
Selections - Select None
Effects - Plugins - Mura's Seamless - Emboss at Alpha / Default settings - (the same as above)
Layers - Merge - Merge Down
Effects - Plugins - Alien Skin - Eye Candy 5 - Impact - Perspective Shadow
Use the same settings as above (preset shadow5_animabelle)
Step 10
Layers - New Raster Layer
Layers - Arrange - Move Down
Fill in the Layer with the same linear gradient
Image - Flip
Effects - Plugins - AP [Distort] - Distort - WavyCity
From the dropdown menu on the left choose Wave2

Step 11
Activate the top merged layer
Open tube (Tube corinne.vicaire - ballons 001 - 2013)
Colorize the selected floating heart part Raster 2 from the tube
Adjust - Hue and Saturation - Colorize

Selections - Select None
Edit - Copy
Edit - Paste as New Layer on your working image
Move the tube to the right as shown on the final result
Effects - Plugins - Alien Skin - Eye Candy 5 - Impact - Perspective Shadow
Use the same settings as above (preset shadow5_animabelle)
Step 12
Image - Add Borders - 8px - Symmetric checked any contrasting colour (I used white #fffff)
Activate the Magic Wand  (Tolerance 0 and Feather 0)
Select the border with the magic wand
Selections - Promote Selection to Layer
Make a new Linear Style gradient - Angle 130 Repeats 7
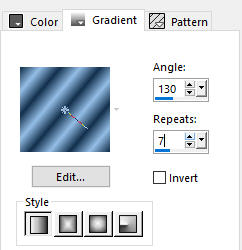
Fill in the selected border with this linear gradient
Selections - Select None
Effects - Plugins - Mura's Seamless - Emboss at Alpha / Default settings - (the same as above)
Layers - Merge All (Flatten)
Step 13
Selections - Select All
Selections - Modify - Contract - 10px

Selections - Invert
Effects - Plugins - Alien Skin - Eye Candy 5 - Impact - Perspective Shadow
Use the same settings as above (preset shadow5_animabelle)
Selections - Select None
Step 14
Open text tube (Marilyn)
Edit - Copy
Edit - Paste as New Layer on your working image
Move the tube at the bottom right as shown on the final result
Step 15
Open tube DBK AA Mod-Cel-912
Edit - Copy
Edit - Paste as New Layer on your working image
Image - Mirror
Image - Resize 60 % - Resize all layers not checked
Move the tube to the bottom left as shown on the final result
Effects - Plugins - Alien Skin - Eye Candy 5 - Impact - Perspective Shadow
Use the same settings as above (preset shadow5_animabelle)
Layers - Merge All (Flatten)
Add your name or watermark, resize if you wish, and save as JPG file
~~~~~~~
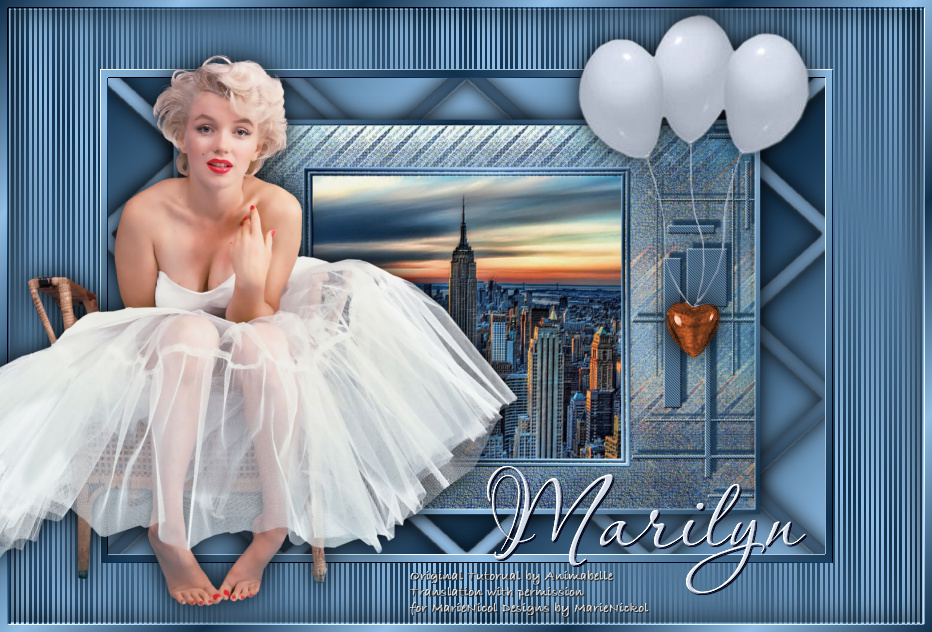
My version with my own tubes
