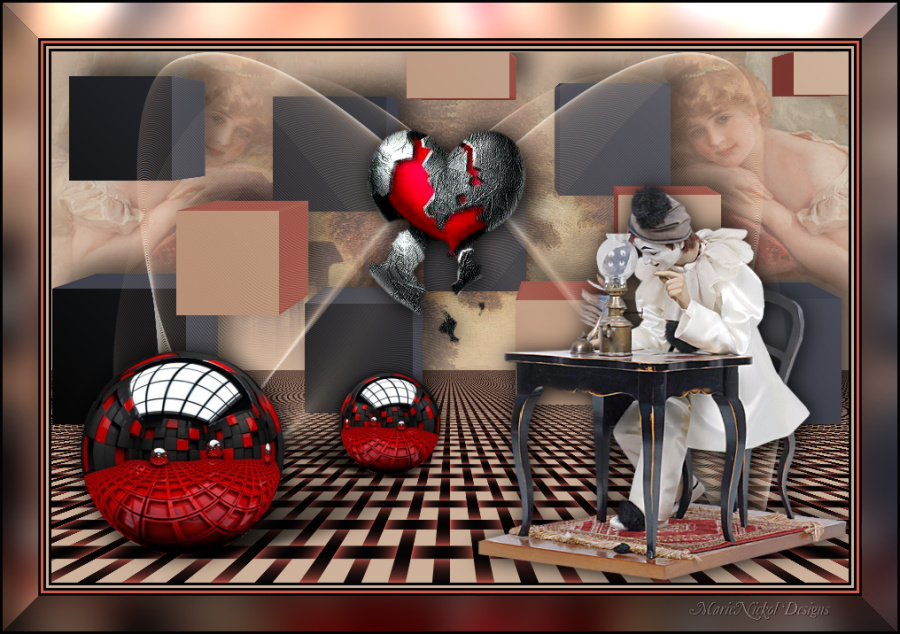
Original tutorial by Animabelle
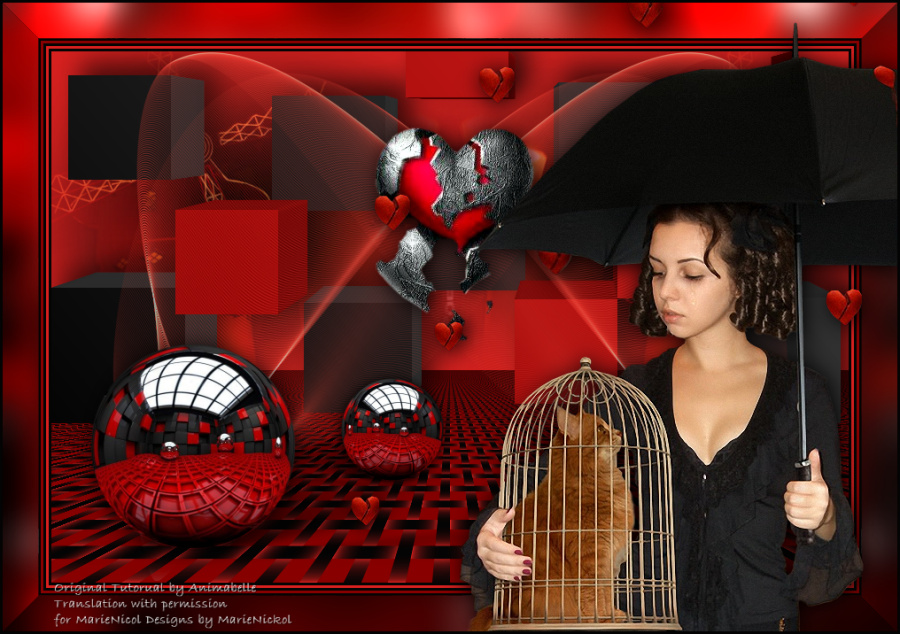
Thank you Animabelle for the permission to translate some of your tutorials.
Translated by Marie Nickol.
You will find the original tutorial here:

This tutorial is a personal creation.
Any resemblance with another one would only be pure coincidence.
Thank you for the respect of Animabelle’s work and the tubers work.
These translations are mine and are intended for personal use only and it is forbidden to copy part or all of it.
You can use this tutorial for PSP lessons but please put the link back to it.
Do not hesitate to let Animabelle or me know if you have any problem with the present tutorial.

Materials used:
Disclaimer: Modifying or renaming files or removing watermarks from the tubes of the original tubers provided in the materials and sharing them as your own or using them for sale online or otherwise is prohibited.
1 character tube by Claudia Viza
1 scenery tube by Cibi-Bijoux
2 tubes by Animabelle
2 Selections
Plugins used:
Alien Skin - Eye Candy 5 - Impact/Extrude
Alien Skin - Eye Candy 5 - Impact/Perspective Shadow
Mura's Meister / Perspective Tiling
Dragonfly / Sinedot 2
FunHouse (It can be used alone and it can also be imported into I.C.NET Software / Filters Unlimited 2.0)
Graphic Plus (It can be used alone and it can also be imported into I.C.NET Software / Filters Unlimited 2.0)
Thank you Renée for sharing your plugins page
==> Here
Materials

The original tutorial was written with PSP 12 but can be done with other versions as well.
This translation is written with PSP 2018 Ultimate, if you work with other versions some things might be different but the result will be the same.
Note: In the latest versions of PSP the command Image-Mirror has become Image - Mirror - Mirror Horizontal
and Image-Flip has become Image - Mirror - Mirror Vertical
Preparations
Duplicate all the tubes and work with the copies to preserve the originals.
Place the selections into your Selections folder of PSP
Colors used:

Note: When
working with your own colors, adjust the Blend Mode/Opacity at your own discretion
Material Properties - Foreground: Set your Foreground color to color 1  #880000
Material Properties - Background: Set your Background color to color 2  #d9211f
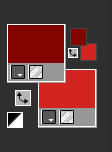
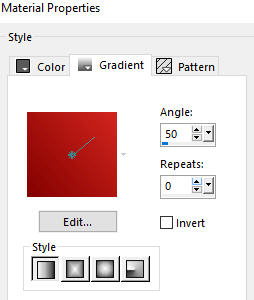
Materials Properties: Set your Foreground Color to foreground-background Linear gradient (Corel_06_029) with the following settings
The Tutorial
Step 1
File - New - Open a new Transparent image 900 x 600 pixels
Materials Properties: Set your Foreground Color to the foreground-background Linear gradient prepared above
Selections - Load/Save Selection - Load Selection From Disk
Look for and load the selection - fallait_pas1_animabelle
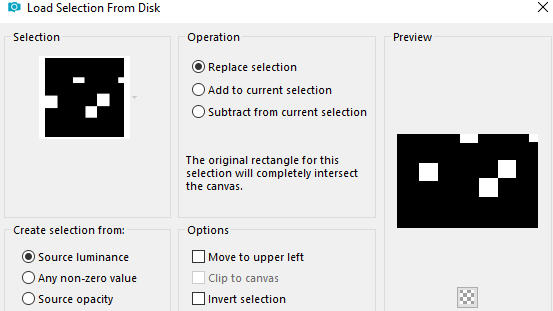
Flood fill tool / Fill in the Selection with the gradient
Selections - Select None
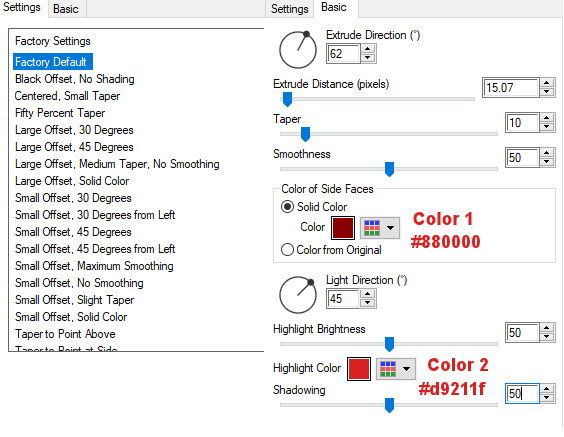
Effects - Plugins - Alien Skin - Eye Candy 5 - Impact - Extrude
Under Settings select Factory Default - On the Basic Tab use the following parameters:
Step 2
Layers - New Raster Layer
Layers - Arrange - Move Down
Selections - Load/Save Selection - Load Selection From Disk
Look for and load the selection - fallait_pas2_animabelle
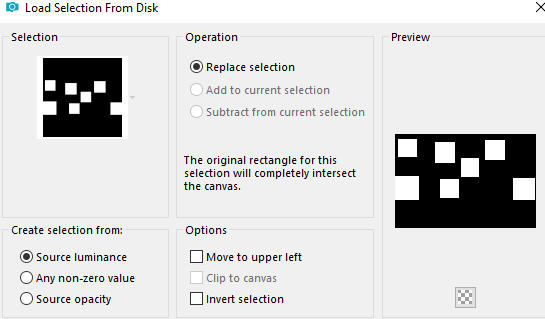
Material Properties - Click on the small color boxes  to change only the colors of the same gradient
- foreground color to Color 3  #040404 and background color to Color 4
  #3c3c3c
Flood fill tool / Fill in the Selection with the gradient
Selections - Select None
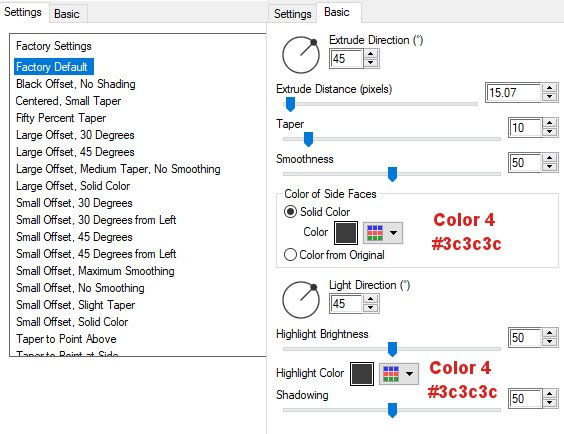
Effects - Plugins - Alien Skin - Eye Candy 5 - Impact - Extrude
Under Settings select Factory Default - On the Basic Tab use the following parameters:
Layers - Merge - Merge Visible
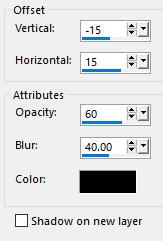
Effects - 3D Effects - Drop Shadow - (-15/15/60/40) Color 5  #000000
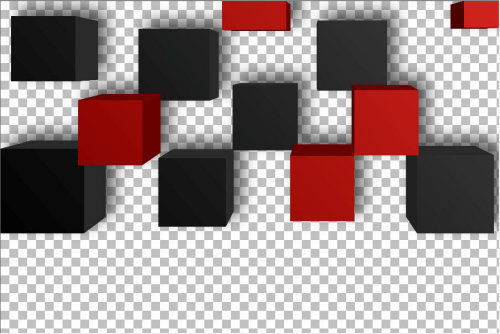
Your image looks like this:
Step 3
Materials Properties: Set your Foreground color to color 3  #040404
Layers - New Raster Layer
Layers - Arrange - Move Down
Flood fill tool / Fill in the layer with color 3  #040404
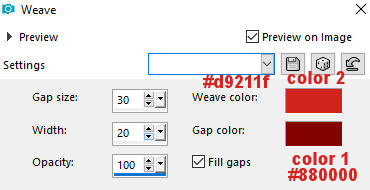
Effects -Texture Effects-Weave
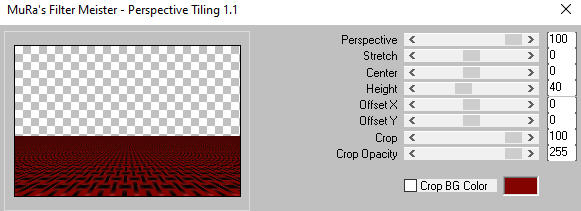
Effects - Plugins - Mura's Meister - Perspective Tiling
Step 4
Materials Properties: Set your Background color to color 2  #d9211f
Layers - New Raster Layer
Layers - Arrange - Move Down
Flood fill tool / Fill in the layer with color 2  #d9211f
Open tube - Moulin_rouge_CibiBijoux
Edit - Copy
Edit - Paste - Paste As New Layer on your working image
Effects - Image Effects - Offset
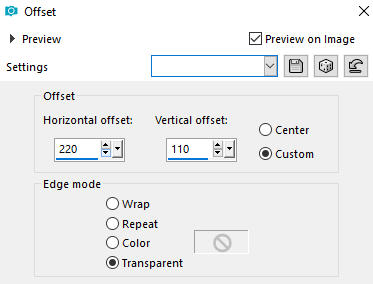
Layers - Duplicate
Image - Mirror
Layers - Merge - Merge Down
Step 5
Activate the top layer
Layers - New Raster Layer
Effects - Plugins - Dragonfly - Sinedot II / red-cat / Color 2  #d9211f
Steps to open the red-cat preset:
Open the Filter - 1. Change the color to Color 2  #d9211f - click on Open to open the preset
2. From the sine-presets folder choose preset q-to-t.cfg
3. On the dropdown menu choose red-cat
4. click OK
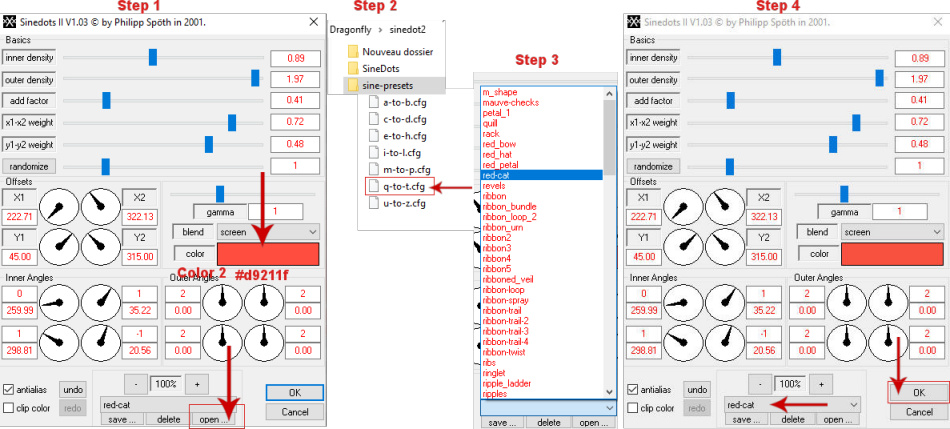
Image - Flip
Layer Properties - set the Opacity to 60
Step 6
Activate the Selection Tool (S)  - Custom Selection

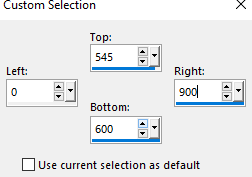
Selections - Modify - Feather (Feather amount 40)
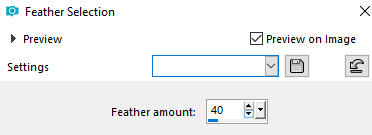
Press twice Delete on your keyboard
Selections - Select None
Step 7
Open tube - boule_animabelle
Edit - Copy
Edit - Paste - Paste As New Layer on your working image
Image - Resize 50% - Resize all layers - Not checked
Move the tube at the bottom left as shown on the final result
Activate the Magic Wand Tool  (Tolerance 0 and Feather 0)
Click with your left mouse on the empty space around the ball to select it
Selections - Invert
Layers - New Raster Layer
Effects - Plugins - Alien Skin - Eye Candy 5 - Impact - Perspective Shadow
In the Setting select Factory Default and click OK
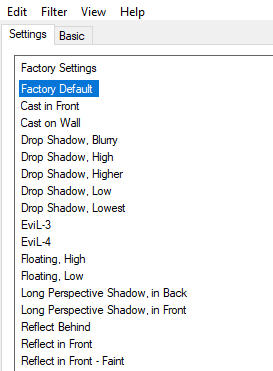
Selections - Select None
Layer Properties - set the Opacity of this layer on 65
Activate the layer below (the ball layer)
Effects - Plugins - Alien Skin - Eye Candy 5 - Impact - Perspective Shadow
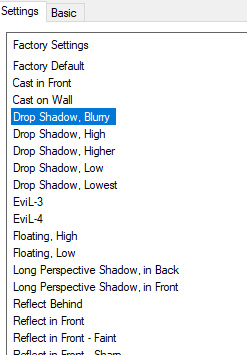
In the Settings choose Drop Shadow, Blurry and click OK
Activate the top layer
Layers - Merge - Merge Down
Layers - Duplicate
Image - Resize - 50% - Resize All Layers - Not Checked
Move the ball a little upper to the right from the large ball as shown on the final result
Layers - Merge - Merge Down
Adjust - Sharpness- Sharpen
Step 8
Open tube - coeur_animabelle
Edit - Copy
Edit - Paste - Paste As New Layer on your working image
Pick Tool (K) - Place the tube in the center of the sinedot shape slightly at the top as shown on the final result
Effects - Plugins - Alien Skin - Eye Candy 5 - Impact - Perspective Shadow
In the Settings choose Drop Shadow, Blurry and click OK
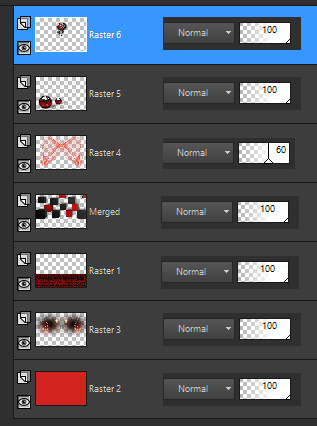
Your layers look like this:
Step 9
Image - Add Borders - Symmetric checked:
3 pxl Color 3  #040404
3 pxl Color 2  #d9211f
3 pxl Color 3  #040404
3 pxl Color 1  #880000
3 pxl Color 3  #040404
40 px Color 2  #d9211f
Step 10
Activate the Magic Wand Tool  (Tolerance 0 and Feather 0)
Select the last 40px border
Effects - Plugins - FunHouse - Polar perversion (Default settings)
Note: This plugin can also be imported into I.C.NET Software - Unlimited 2.0

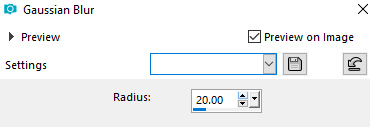
Adjust - Blur - Gaussian Blur (Radius 20)
Effects - Plugins - Graphic Plus - Button Beveler II - (Default settings)
Note: This plugin can also be imported into I.C.NET Software - Unlimited 2.0

Selections - Select None
Step 11
Open the lady's tube - tubeclaudiaviza-fantasia178
Edit - Copy
Edit - Paste as New Layer on your working image
Pick Tool  - Move the tube to the right side as shown on the final result
Adjust - Skin smoothing - Amount 10 (for those who have the option in their PSP)
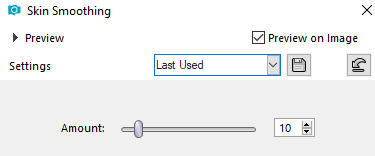
Note: If you don't have the option in your PSP program use - Adjust - Sharpness - Unsharp Mask
Adjust - Sharpness- Sharpen (Only for those who have applied the Skin Smoothing Effect)
Effects - Plugins - Alien Skin - Eye Candy 5 - Impact - Perspective Shadow
In the Settings choose Drop Shadow, Blurry and click OK
Image - Add Borders - Symmetric checked - 3 px Color 3  #040404
Layers - New Raster Layer
Add your name or watermark
Layers - Merge - Merge All (Flatten)
Image - Resize - 900 pixels width (the height will adapt)
File - Export - Save as JPG file
~~~~~~~
My version with a tube by Grace's TLC
