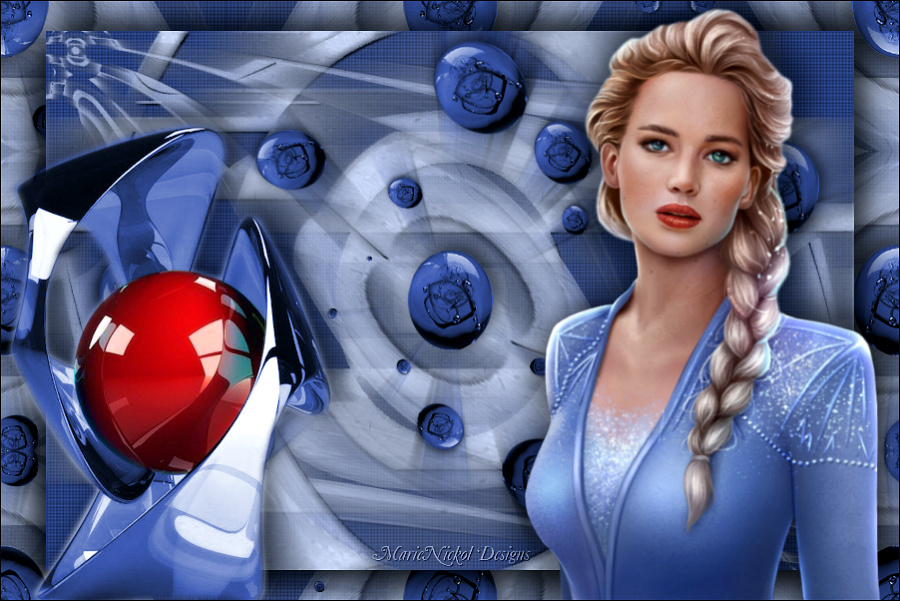
Original tutorial by Animabelle
Thank you Animabelle for the permission to translate some of your tutorials.
Translated by Marie Nickol.
You will find the original tutorial here:

This tutorial is a personal creation.
Any resemblance with another one would only be pure coincidence.
Thank you for the respect of Animabelle’s work and the tubers work.
These translations are mine and are intended for personal use only and it is forbidden to copy part or all of it.
You can use this tutorial for PSP lessons but please put the link back to it.
Do not hesitate to let Animabelle or me know if you have any problem with the present tutorial.

Materials used:
Disclaimer: Modifying or renaming files or removing watermarks from the tubes of the original tubers provided in the materials and sharing them as your own or using them for sale online or otherwise is prohibited.
1 tube by Libellule graphisme
2 tubes by Claudia Viza
1 mask by Aditas creations
2 Selections
1 Texture by Winni
Plugins used:
Mura's Meister / Copies
User Defined Filter / Emboss 3
Thank you Renée for sharing your plugins page
==> Here
Materials

The original tutorial was written with PSP 12 but can be done with other versions as well.
This translation is written with PSP 2018 Ultimate, if you work with other versions some things might be different but the result will be the same.
Preparations
Duplicate all the tubes including the mask and work with the copies to preserve the originals.
Place the Selections into your Selections folder of PSP
Place the texture into you Textures folder of PSP
Note: (If you don't have the preset Emboss 3, you can download it - Here - Place it into your Presets folder of PSP )
Colours used:

Note: When
working with your own colors, adjust the Blend Mode/Opacity at your own discretion
The Lesson
Step 1
Open a new Transparent image 900 x 600 pixels
Fill the layer with your foreground colour 1 
Effects - Texture Effects - Texture
Look for texture Corel-15-005 (If you don't have it, I have included it into the materials provided)
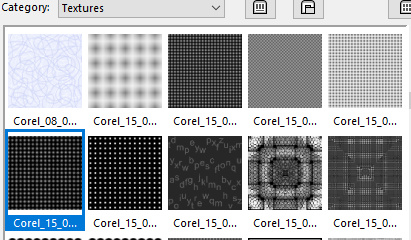
Use the following parameters
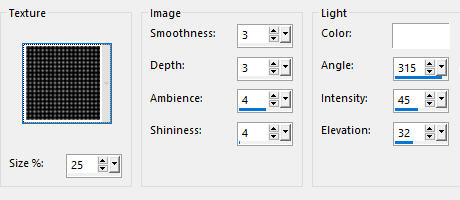
Step 2
Layers - New Raster Layer
Fill the layer with your background colour 2 
Open mask aditascreations_mask_42
Layers - New Mask Layer - From Image
Apply aditascreations_mask_42 - Invert mask data not checked
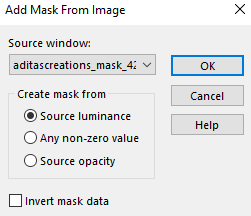
Layers - Merge - Merge Group
Step 3
Layers - Duplicate
Image - Flip
Note: In the latest versions of PSP the command Image-Mirror has become Image - Mirror - Mirror Horizontal and Image-Flip is Image - Mirror - Mirror Vertical
Layers - Merge - Merge Down
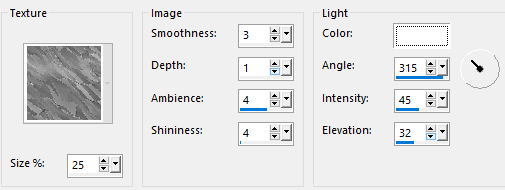
Effects - Texture Effects - Texture -
Look for texture winni.texture.49 provided in the material
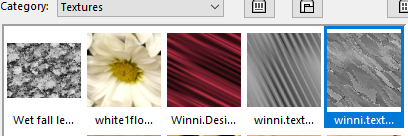
Use the following parameters
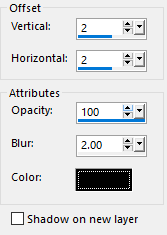
Effects - 3D Effects - Drop Shadow: 2/2/100/2/ Color: 3 #000000  - Shadow on new layer not checked
Step 4
Layers - Duplicate
Effects - Distortion Effects - Warp
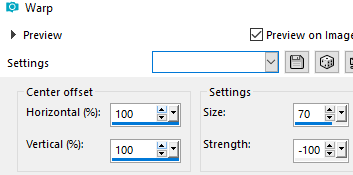
Layers - Duplicate
Image - Flip
Image - Miroir
Layers - Merge - Merge Down
Set the Opacity of the layer to 70
Your Layers look like this:
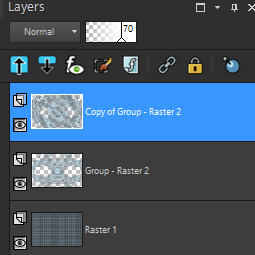
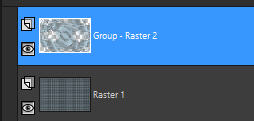
Layers - Merge - Merge Down (Copy of Group-Raster 2 with Group-Raster 2)
Your Layers now look like this:
Step 5
Open tube tubeclaudiaviza-mix80
Window - Duplicate
Close the original tube
We work on the copy
Delete the top layer of the watermark signature
Adjust - Hue and Saturation - Colorize
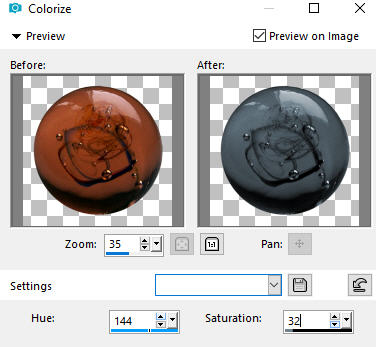
Edit - Copy
Step 6
Go back to your working image
Layers - New Raster Layer
Selections - Load/Save Selection - Load Selection From Disk
Look for and load the selection - cristaline1_animabelle
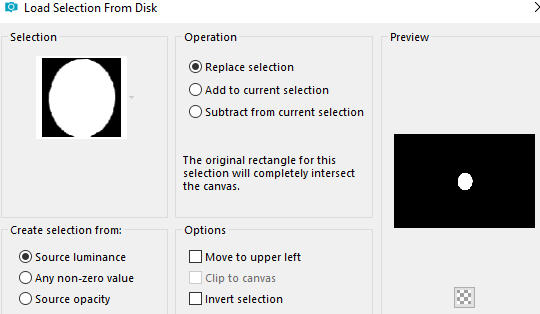
Edit - Paste into Selection (the colorized tube)
Selections - Select None
Adjust - Sharpness - Sharpen
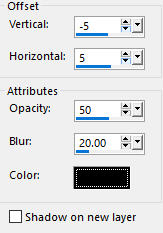
Effects - 3D Effects - Drop Shadow: (- 5/5/50/20/) Color: 3 #000000  - Shadow on new layer not checked
Step 7
Layers - Duplicate
Activate the layer below (Raster 2)
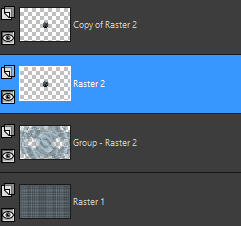
Effects - Plugins - Mura's Meister - Copies
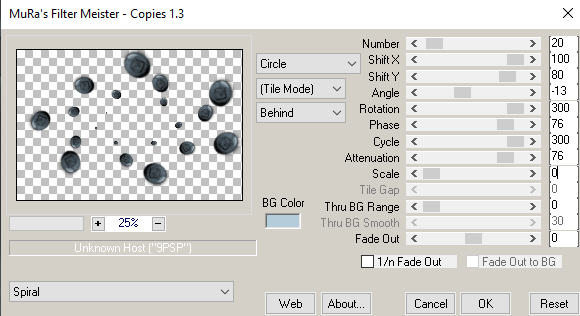
Step 8
Layers - Duplicate
Activate the layer below (Raster 2)
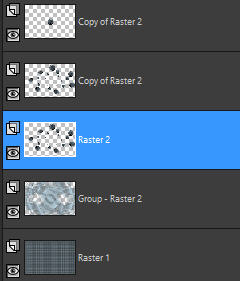
Adjust - Blur - Radial Blur
Use the following settings:

Effects - User Defined Filter - Emboss 3
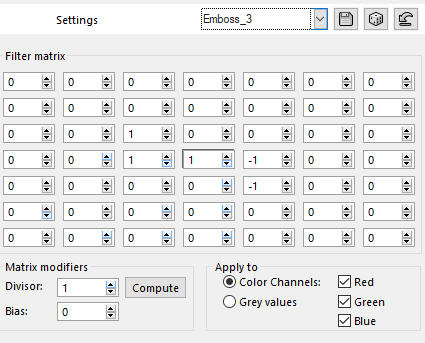
Layers - Merge - Merge Visible
Step 9
Layers - Duplicate
Image - Resize 90 % - Resize all layers not checked
Effects - 3D Effects - Drop Shadow: (11 / - 11 / 80 / 40 / ) Color: 3 #000000  - Shadow on new layer not checked
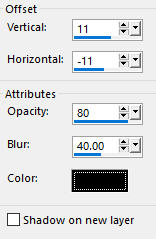
Repeat Drop Shadow with (- 11) / 11)
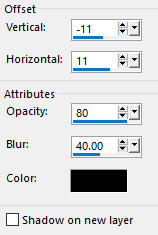
Activate the Merged layer below
Effects - Plugins - Simple - Centre Tile
Activate the top Copy of Merged layer
Step 10
Open the lady tube libellulegraphisme_submedium
Edit - Copy
Edit - Paste as New Layer on your working image
Image - Resize 65 % - Resize all layers not checked
Move the tube to the right as shown on the final result
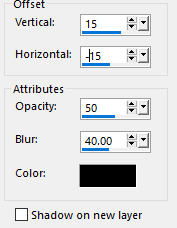
Effects - 3D Effects - Drop Shadow: (-15) /15 /50 /40) Color: 3 #000000  - Shadow on new layer not checked
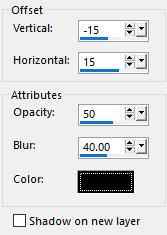
Repeat Drop Shadow with (15/- 15)
Adjust - Sharpness - Sharpen
Step 11
Open the tube tubeclaudiaviza-mix8
Edit - Copy
Edit - Paste as New Layer on your working image
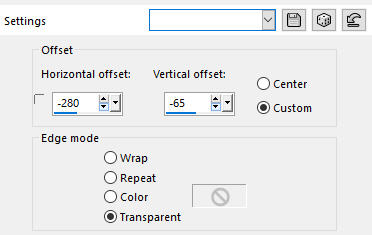
Effects - Image effects - Offset
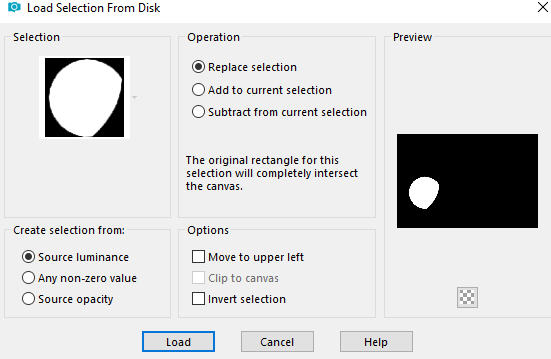
Selections - Load/Save Selection - Load Selection From Disk
Look for and load the selection - cristaline2_animabelle
Selections - Invert
Adjust - Hue and Saturation - Colorize (the same settings as above in Step 5)

Selections - Select None
Effects - 3D Effects - Drop Shadow: (-11/11/50/40) Color: 3 #000000  - Shadow on new layer not checked
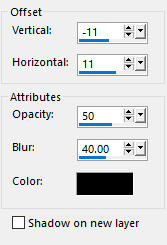
Image - Add Borders - 1px colour 3 #000000 - Symmetric checked
Add your name or watermark, resize if you wish, and save it as JPG file.
~~~~~~~
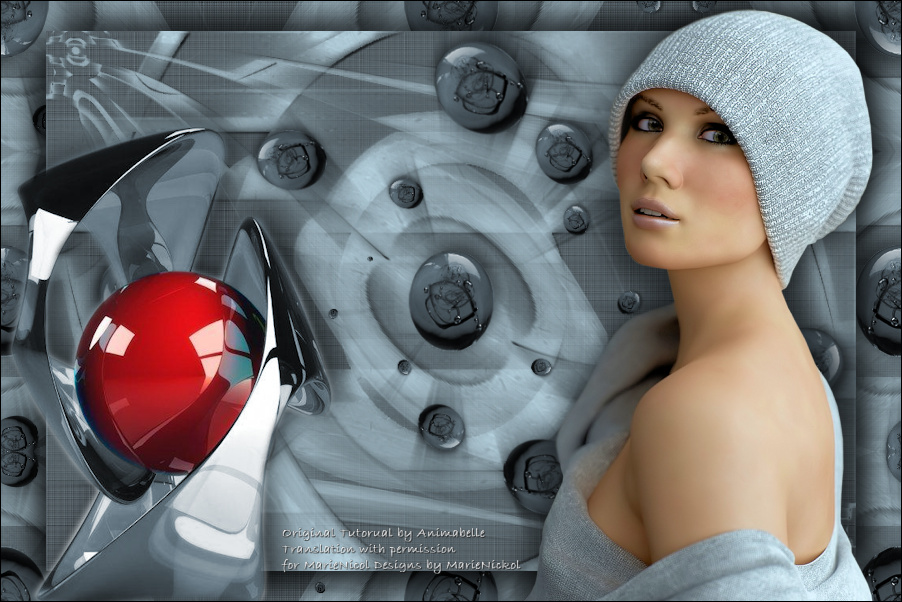
My version with a tube by Lana
